Things That Make Me Say Yeay

Friday, March 30, 2012

Folding little tiny baby clothes and getting the drawers all organized and ready.

Park play dates with friends. Apparently Max shows affection by pouring sand on his playmate's head...she was a good sport!

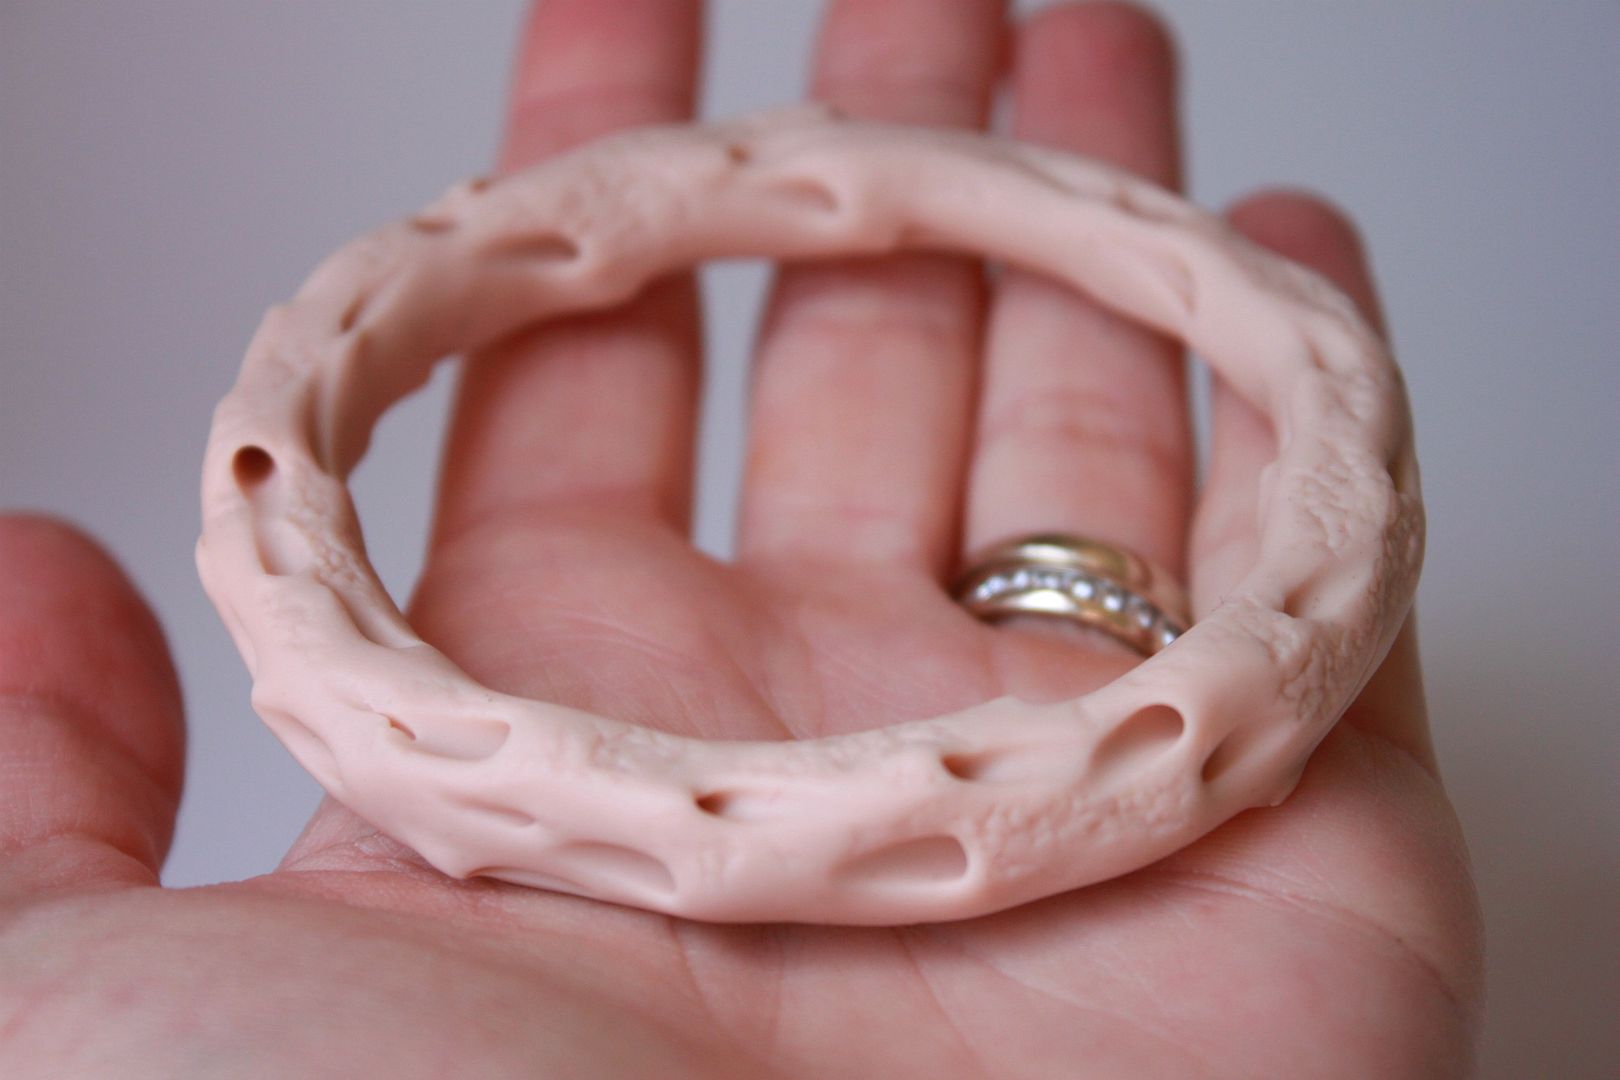
A coral inspired polymer clay bracelet that I recently made. I think it's my favorite one yet. I will be sharing how to make it yourself next week.

Discovering the piano at Nana's house. Max was so excited about this...Nana was a little nervous I think at how violent he was with the keys ha!


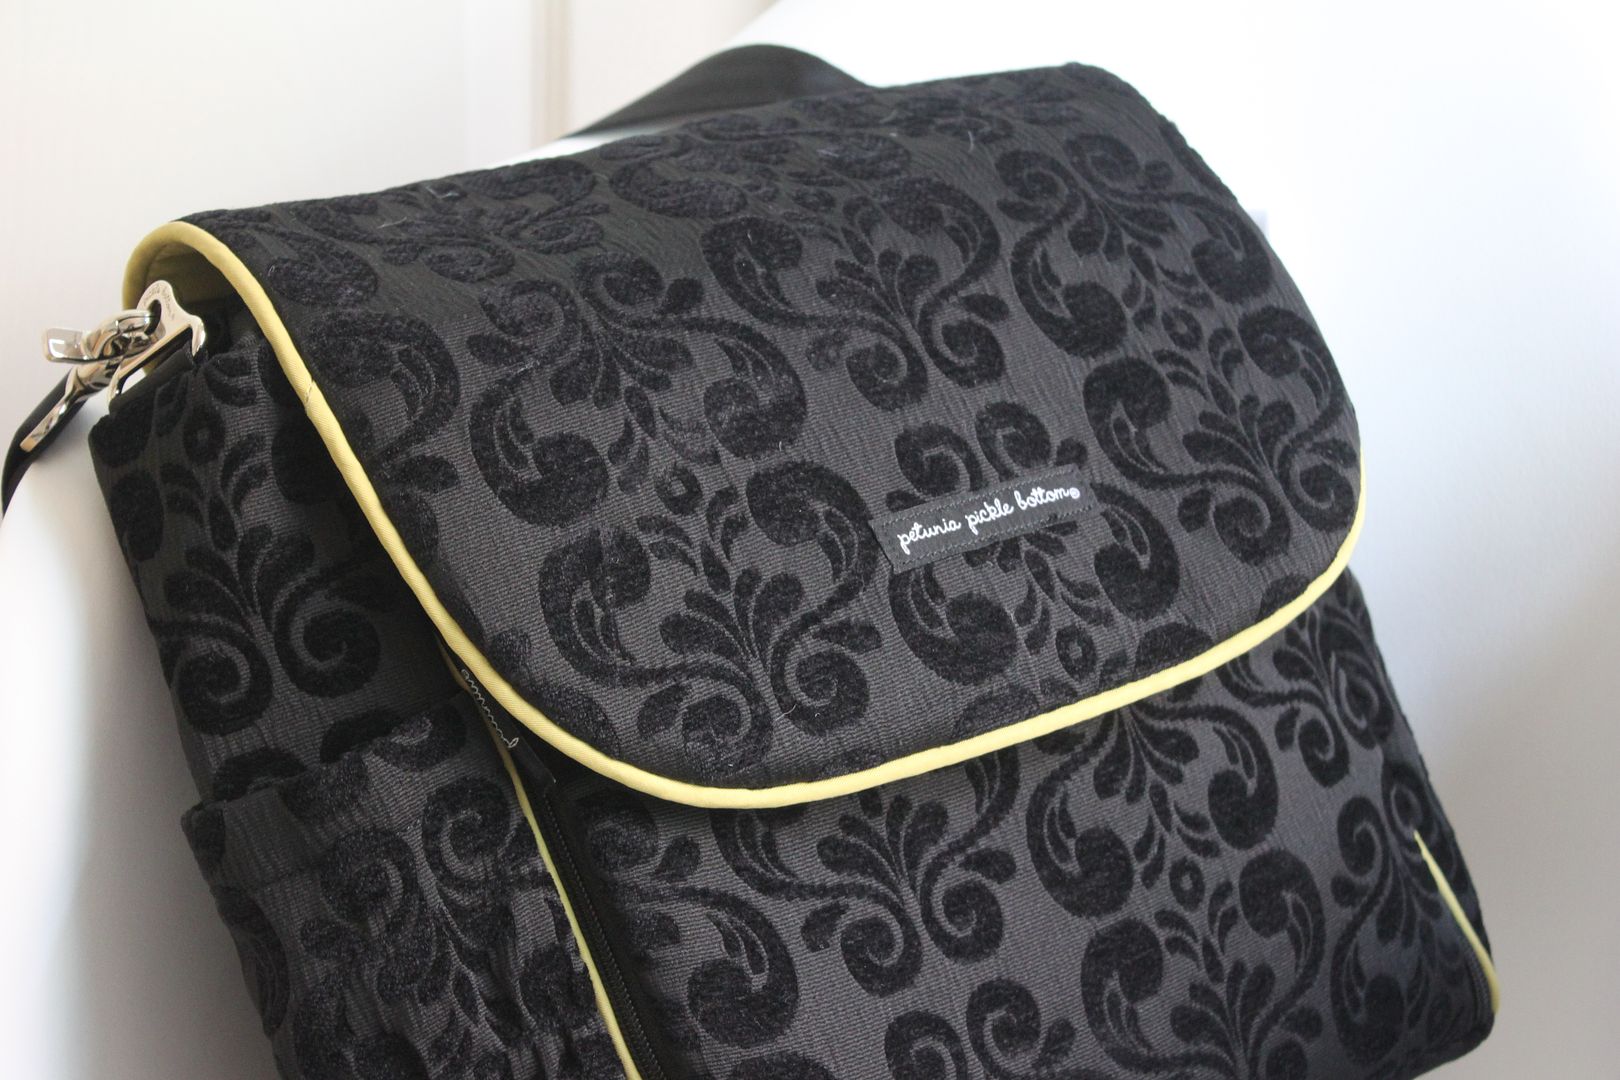
My new diaper bag. My old one was just plain sad (and gross). Thank you Amazon for such a great deal.

Have a wonderful weekend! Ian has the day off today and we are heading out (kid free- thanks MOM) for a little day date...matinee movie and lunch.

29 weeks + NST Tests

Thursday, March 29, 2012

Hospital snacks for low blood sugar...blahh. For all the out of pocket money we spend during my pregnancy maybe they should invest in some Pirate's Booty or something tasty...just a suggestion.

I am now 29 weeks pregnant, which means that my twice weekly NST (Non Stress Test) tests have started. Because type 1 diabetes is considered a high risk pregnancy these tests are pretty standard.

NST tests are preformed to make sure the baby is doing okay. They listen to his heart, monitor his movements, do an ultrasound and check on my amniotic fluid to make sure he has enough swimming room. One super scary scenario for diabetics is you have a higher chance of having a still birth. Even the thought of this brings tears to my eyes, so I do not mind these tests at all. Plus I get to listen to my little guy's heartbeat for a good 30-45 minutes each time. What's better than that?

I bring a little notebook with me and try to utilize this alone time (which is kind of awesome) wisely. I write down blog ideas and things I need to do. I am really trying to be more organized (easier said than done for me).

I will be delivering baby Ronin via c-section at 39 weeks, so I only have 10 more weeks to go! Hooray for that.

Cauliflower Rice

Tuesday, March 27, 2012

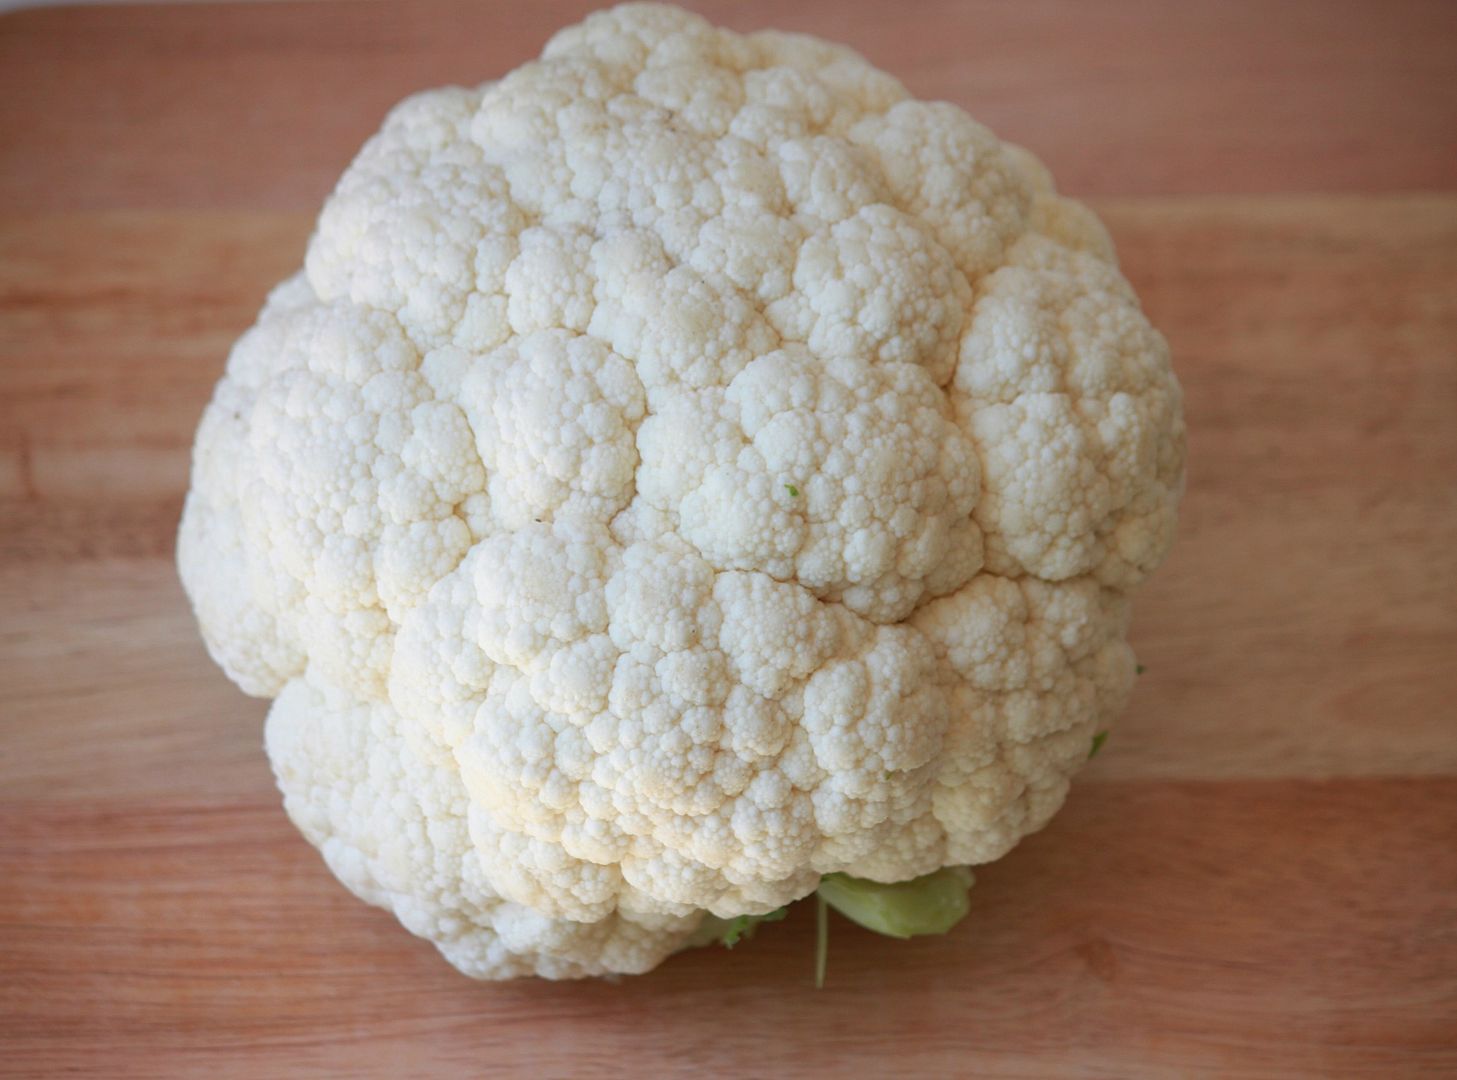
I have been on a total cauliflower kick lately. After making skinny mashed potatoes and cauliflower poppers I knew I was hooked to this once boring (to me) vegetable.

Cauliflower is super low in carbs and high in fiber making it the perfect substitute for those starchy dishes...like rice. I recently found this video on how to make cauliflower rice and I knew it was a recipe that needed to be tested asap.

I am SO excited about this recipe I may or may not have done an actual happy dance when I ate it for the first time.

What you will need:
  • 1 head of cauliflower
  • Whatever seasonings you like on your rice

Directions:

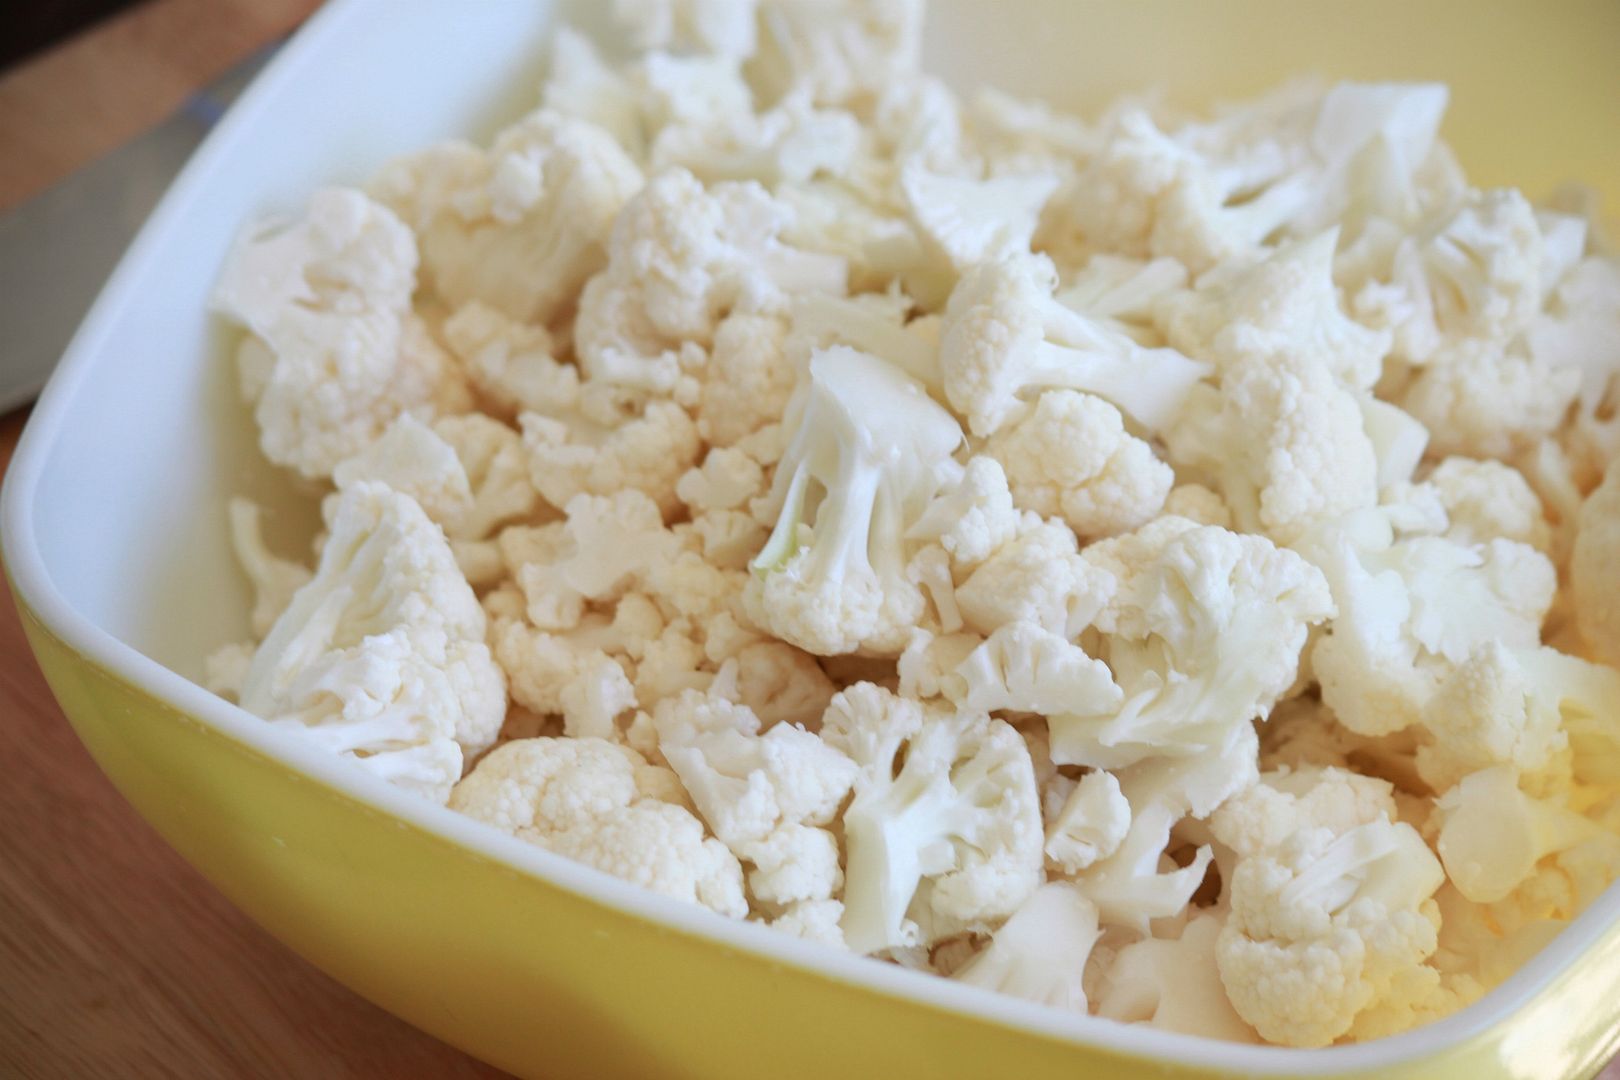
  1. Wash and dry cauliflower. Cut into small size chunks.
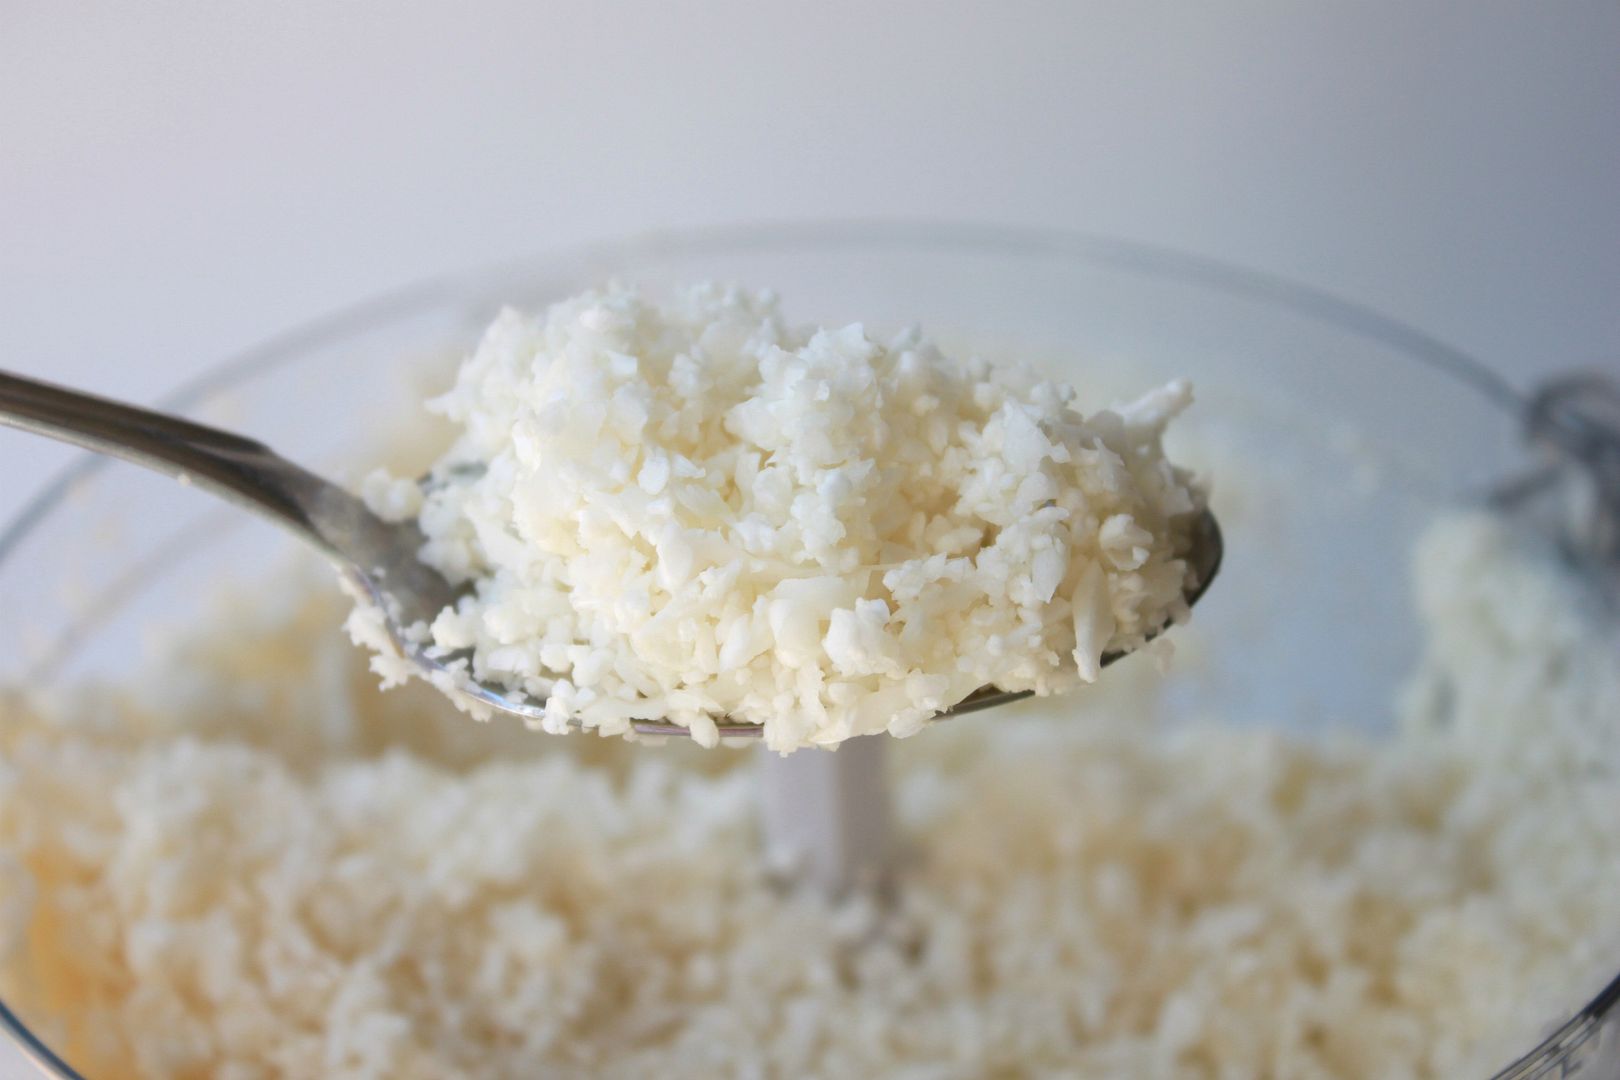
  2. Using the shredder blade of your food processor, place the cauliflowers chunks into the processor until it is the size of rice.
  3. Remove from food processor and place "rice" into a microwave safe dish with a lid. Microwave (you do not need to add any water) for 5-6 minutes.
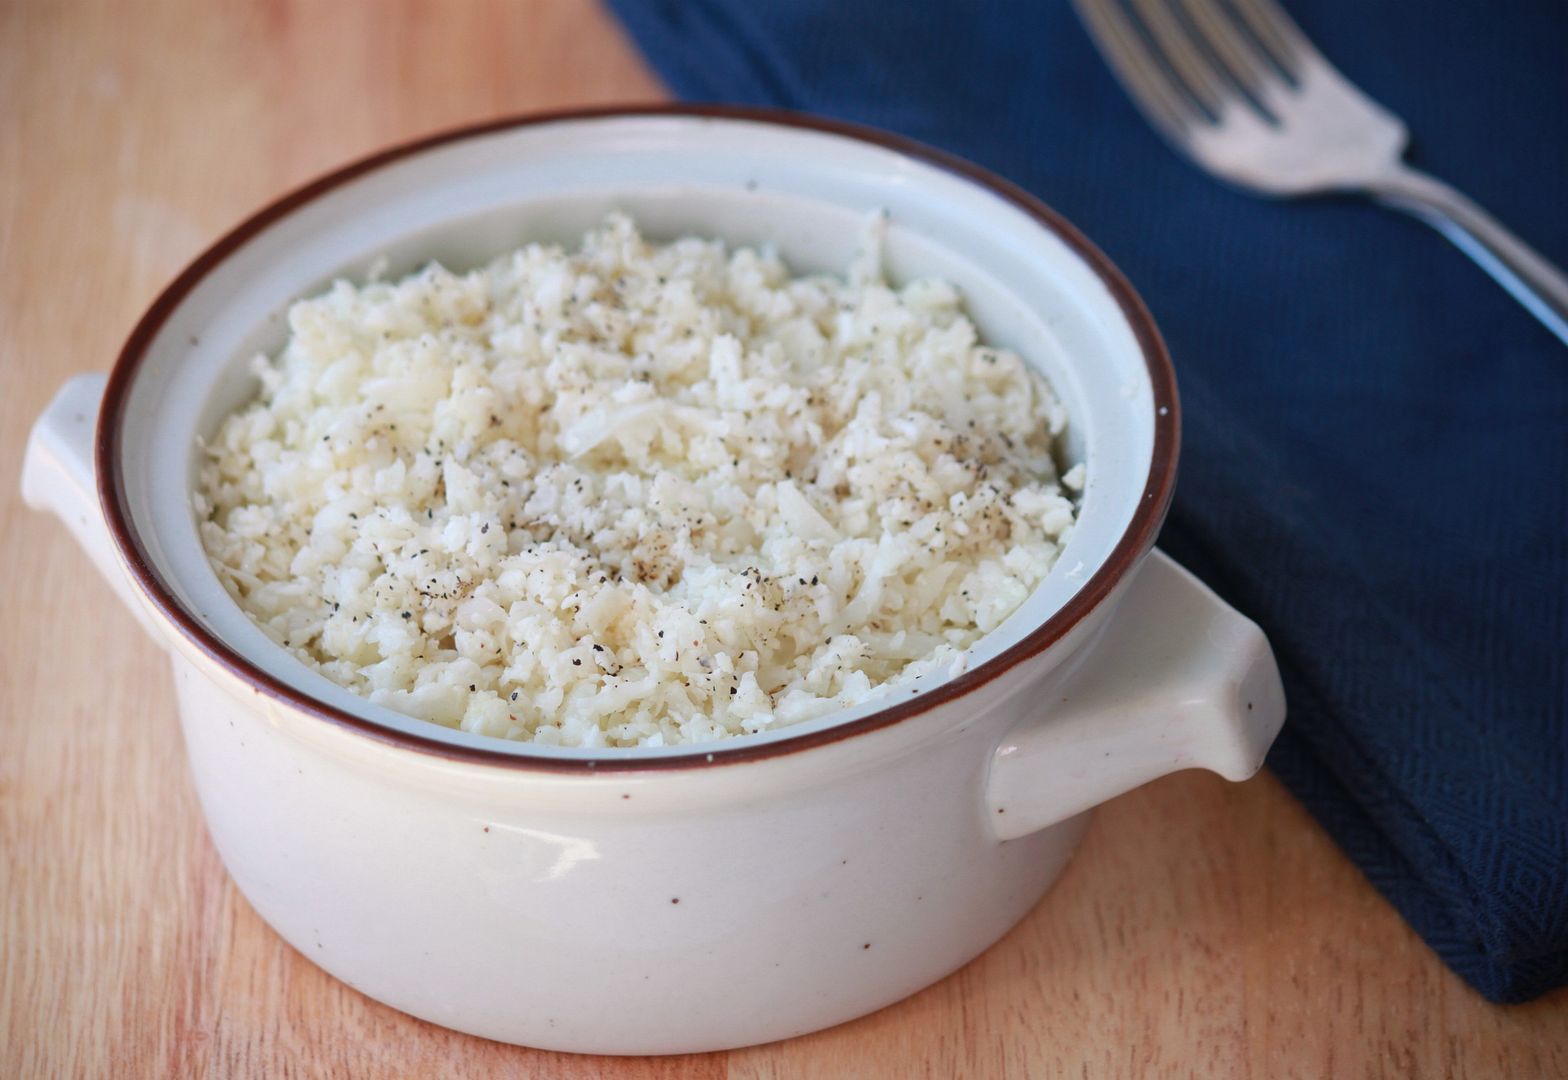
  4. Done! So so easy. Season however you normally like your rice.
This only took 5 minutes to cook and my husband was shocked that it was actual cauliflower. I seasoned it with butter, salt and pepper. I paired it (I know I sound so fancy) with a vegetable stir fry and it was fantastic! Such a great substitute if you are trying to cut back on your carb intake.

On a side note: I haven't felt like doing much else lately other than cooking, baking and cleaning (hello nesting) so you may be seeing more recipes here than normal.

Skin Care Tip of the Week *All about the eyes*

Monday, March 26, 2012


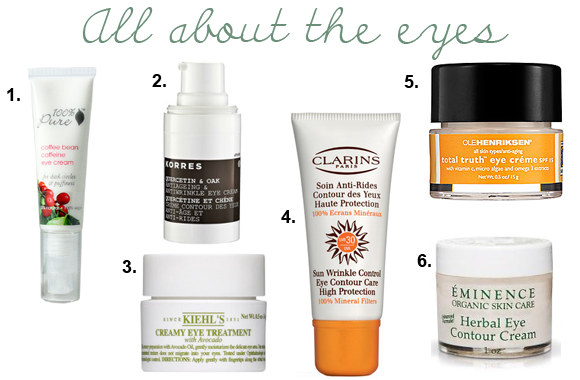
1/2/3/4/5/6

I have decided to do a mini series within my Skin Care Series. For the next couple of weeks I will be talking all about the eyes. I will be sharing some of my favorite products, eye treatment diys and little tips and tricks for your precious peepers!

This week I am going to discuss eye creams. So many of you have sent e-mails wondering if you really need one and if so, which one?

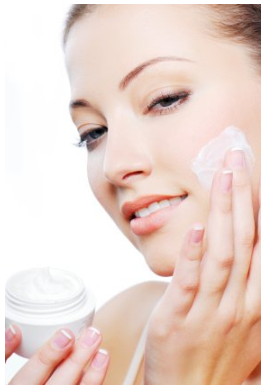
The eye area is the most delicate area of the face. It is also the area in which the skin is the thinnest, making it very prone to fine lines, dryness, wrinkles and aging. Most of the time your daily moisturizer is not suitable for the eye area. This is why there are products designed specifically for the eyes.

What is the purpose of an eye cream?- Depending on which eye cream you use, it can help moisturize, hydrate, de-puff, minimize dark circles and temporarily tighten the eye area.

Is an eye cream really that important to use?- That is totally up to you. Eye cream is one of those products I always recommended to my clients without fail. It is never too late to start taking better care of your skin, eye area included.

When should you use it?- Typically you use an eye cream morning and night. Read this post to see where it would fit into your skin care routine.

How much should you use?- Eye creams are very concentrated. This is why they usually come in miniature size containers and tubes. You only need about the size of a pencil eraser.

How do you apply eye cream?- Start at the inner corner of your eye and gently massage and pat using your ring finger towards the outer corner of your eye.

All of the eye creams listed above are fantastic. My two personal favorites are #1 and #3.

Next week I will be sharing a great diy under eye treatment.

Becoming a Mom of Two + A Little Family Video

Friday, March 23, 2012

This week officially marks the final home stretch of my pregnancy. I am now 7 months along. I will be a mom of two before I know it! I am excited, terrified, anxious and overjoyed all wrapped up in one.

Lately I have been wondering how in the world I am going to do it. I already feel like I get nothing done with one. I know I need to get myself organized for starters. I am that Mom who forgets a change of clothes and my kid ends up having a blow out. Yes this has happened at awesome places like a baseball game that was two hours away from home.

Since this is going to be our last baby, I want to really soak up these next couple of months. I want to try and enjoy being pregnant (I am not one of those ladies who "loooooves" being pregnant). I want to spend more time outside with Max and less time on the computer. I want to spend more time reading Max stories and less time reading e-mails. I want to really cherish these special moments where it's just the two of us. So much is changing for Max and I want him to feel like he's still my little baby for just a little bit longer.

I recently found this little video and I thought it was too cute not to share. Max was about 6 months old here. He truly is our whole world and I am so happy to add a new member to our family very soon.

On a side note: I usually don't say "cold" like that. You start talking weird when you become a parent ;)


Mom's of two or more...do you have any advice on making the transition from one to two a little bit easier?

Frozen Yogurt Pistachio Covered Grapes

Wednesday, March 21, 2012

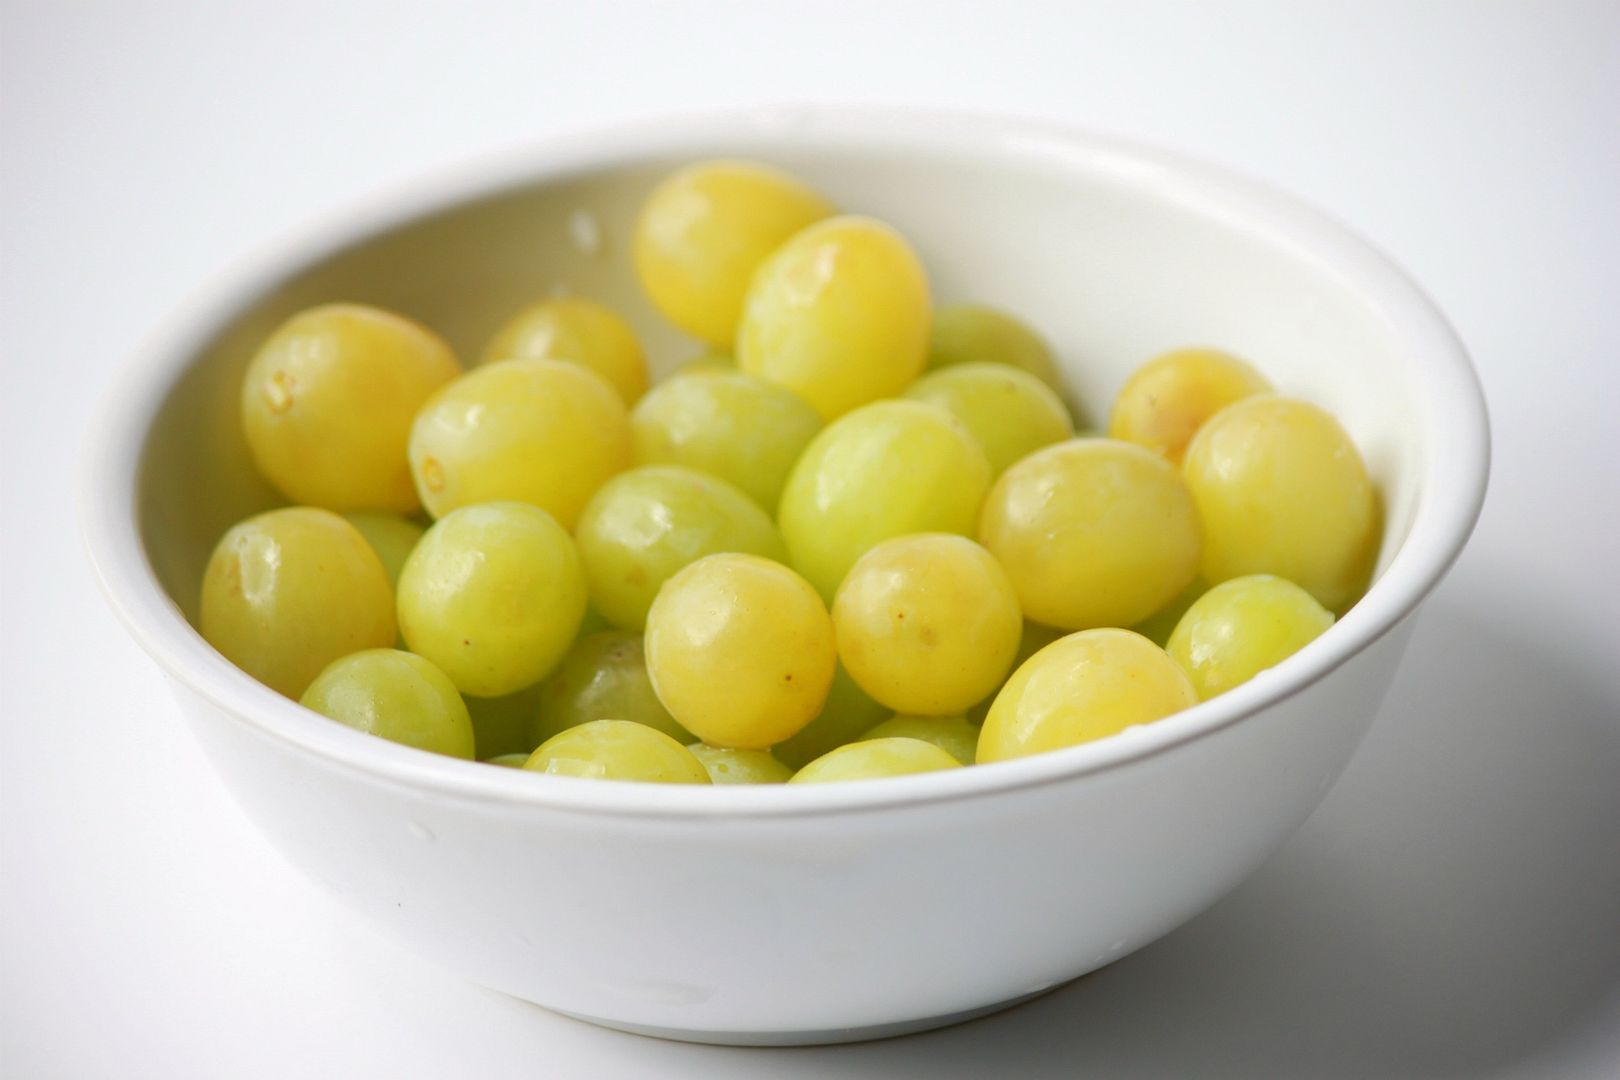
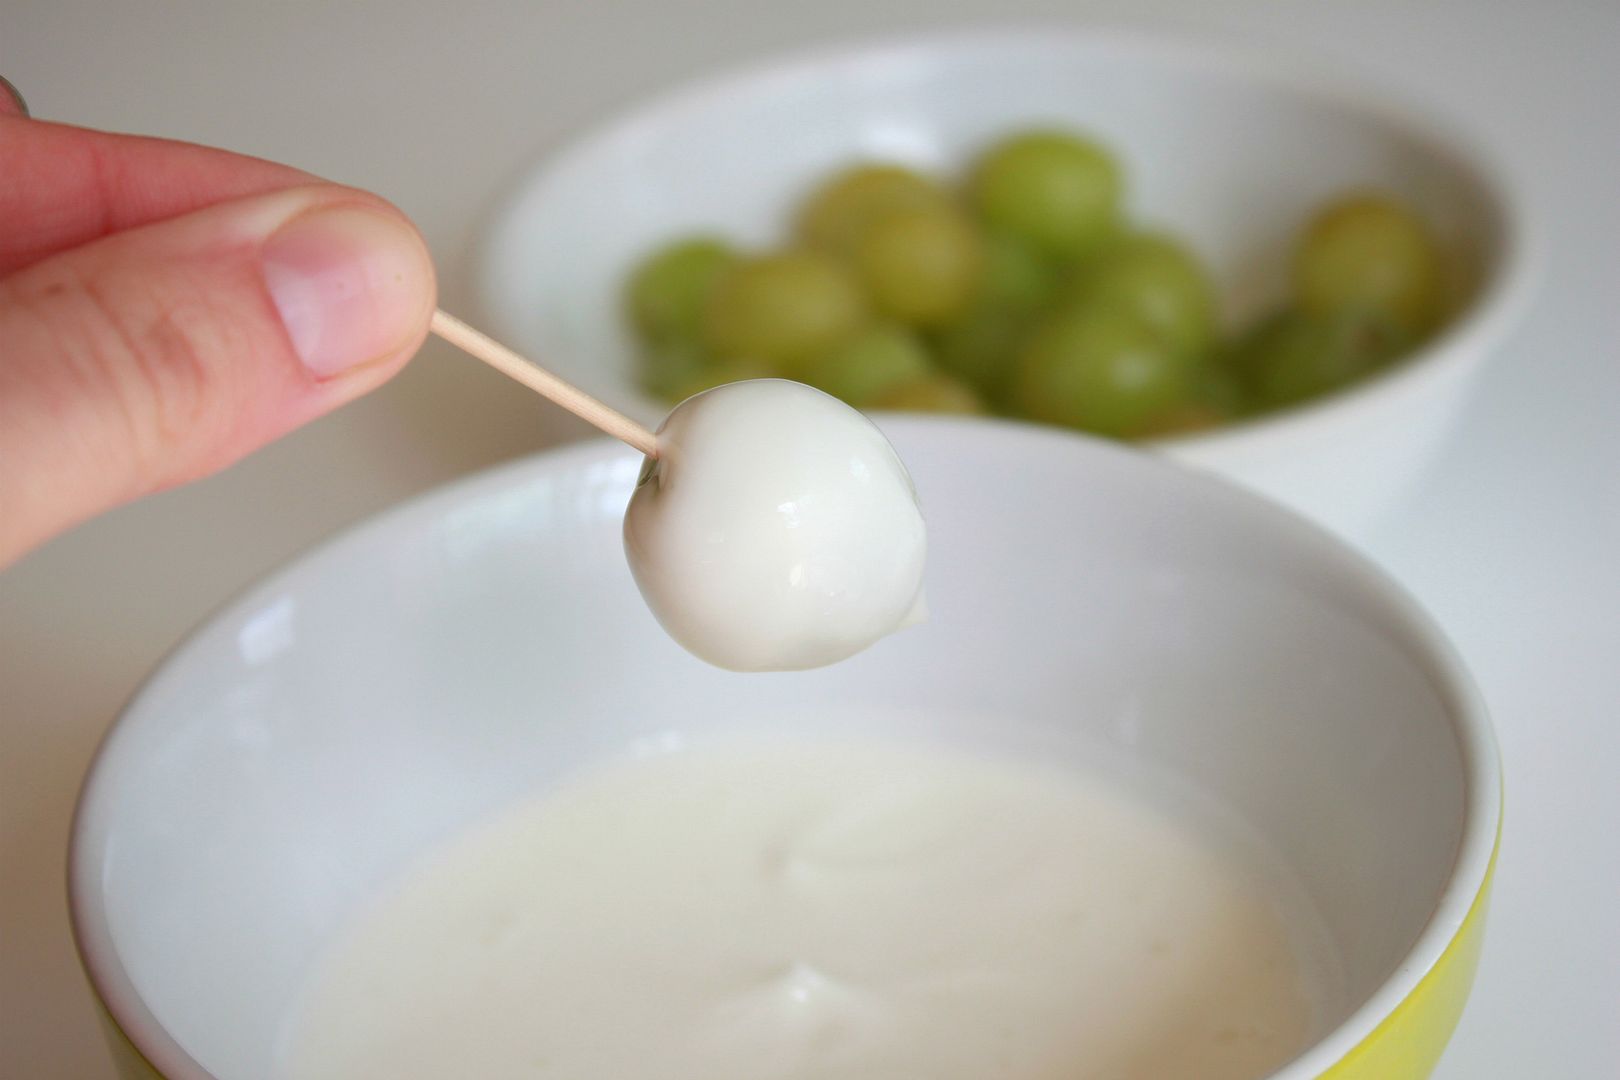
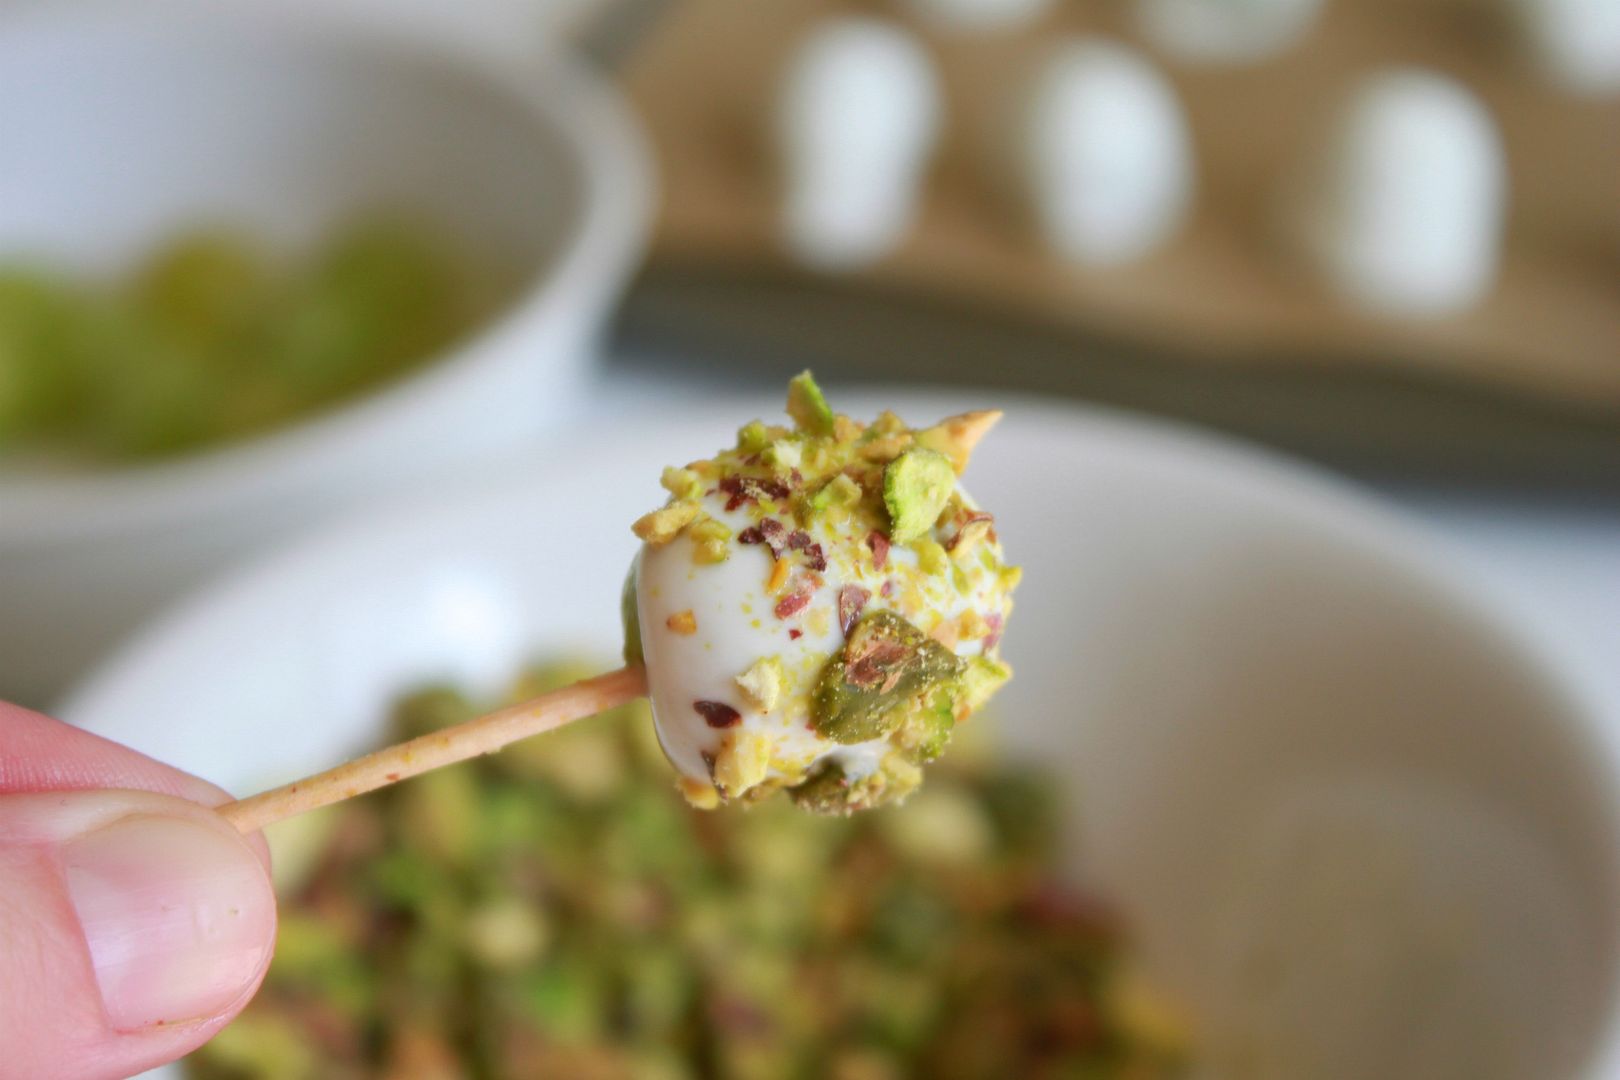
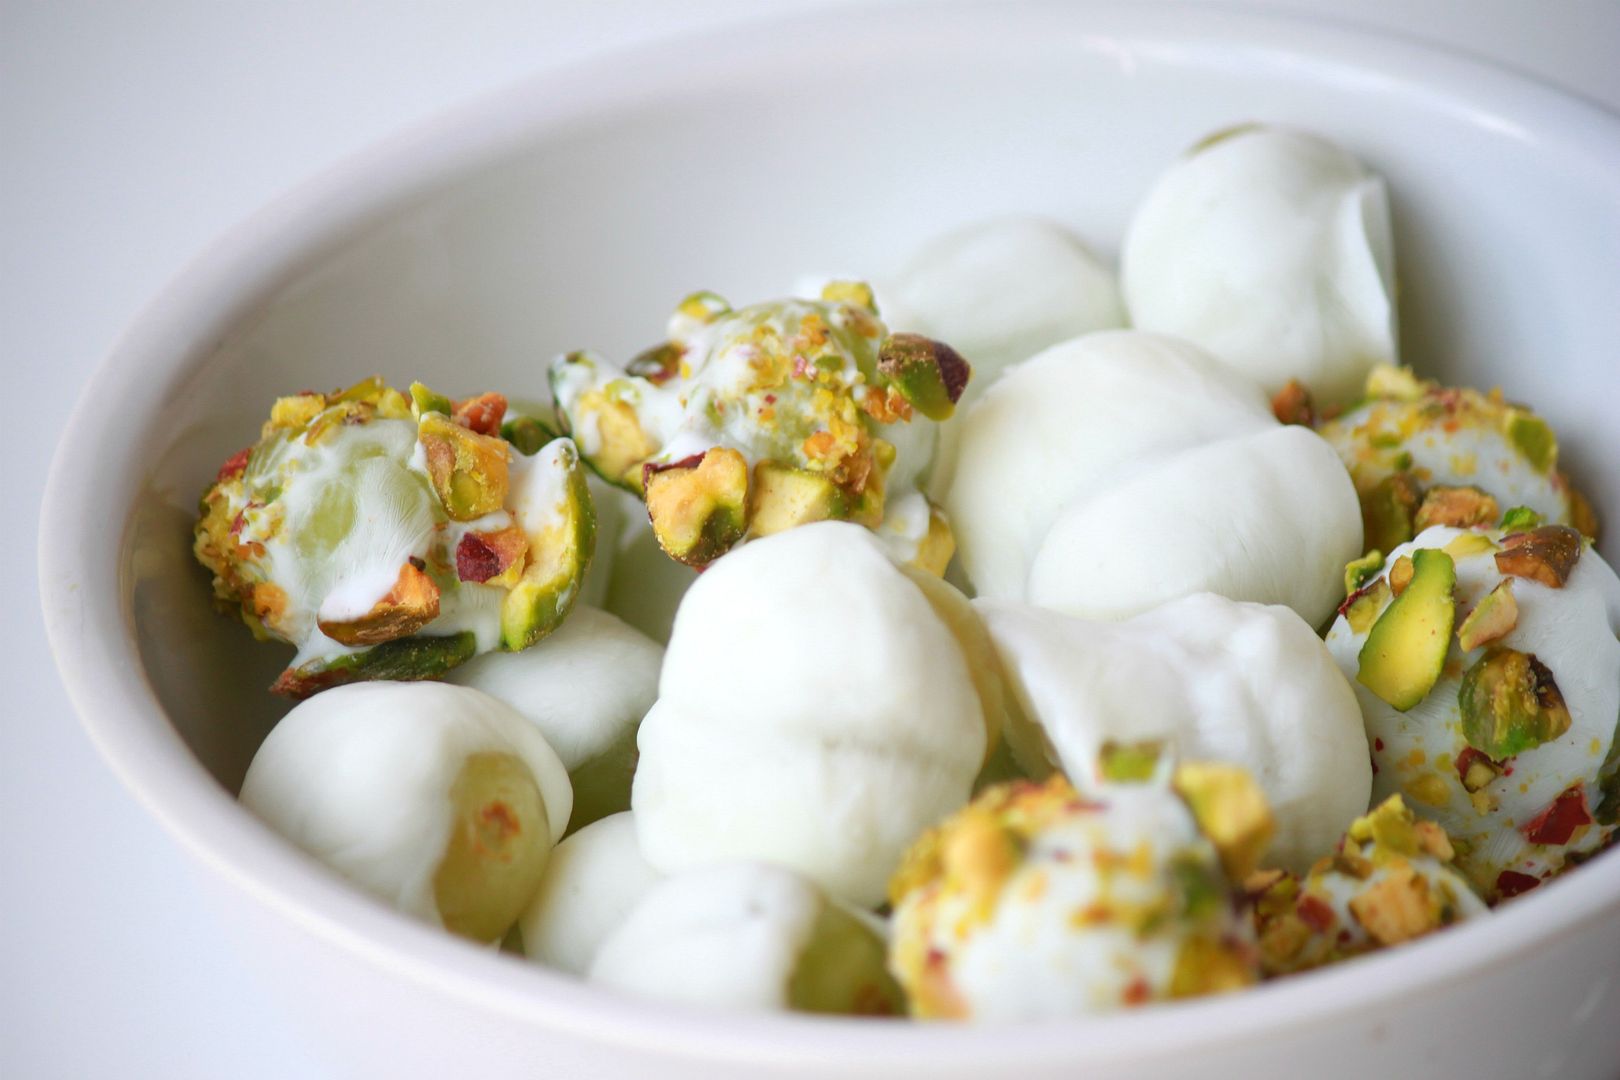
Frozen grapes are one of my favorite snacks. It's a sweet treat that totally hits the spot when you are craving a little sugar. I decided to put a spin on this by dipping the grapes in yogurt and then topping with pistachio crumbles and letting them freeze. Max and I could not get enough of these! He even had a little mini melt down when I showed him that the bowl was empty.

What you will need:
  • Red or green grapes
  • Toothpicks
  • Greek Yogurt (I used non fat Greek yogurt which is super low carb)
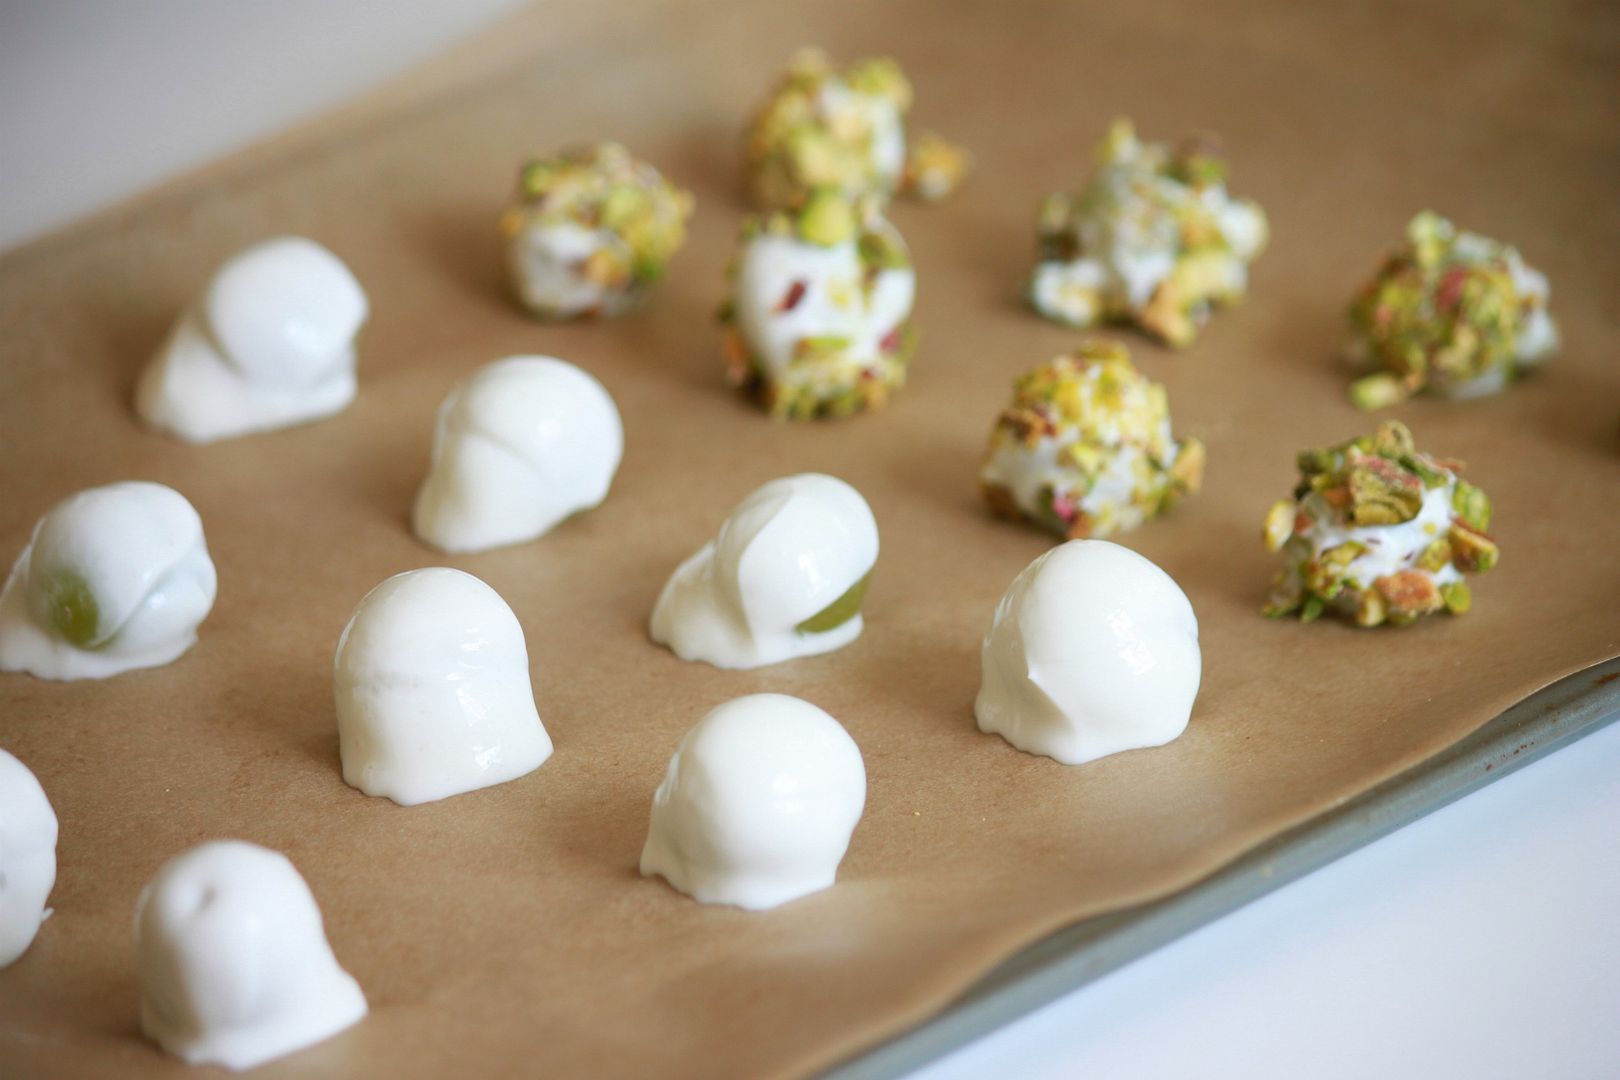
  • Chopped up pistachios - optional. I made half of the batch with them and the other half without.

Directions:

  1. Poke each grape with a toothpick and dip in the yogurt.
  2. Sprinkle crumbled pistachio on each yogurt covered grape.
  3. Push grape off of toothpick and onto lined baking sheet. Freeze.
  4. Enjoy!
The end result was a sweet, candy like crunchy treat that was so delicious!

How to Tie-Dye a Shirt Naturally Using Turmeric

Tuesday, March 20, 2012

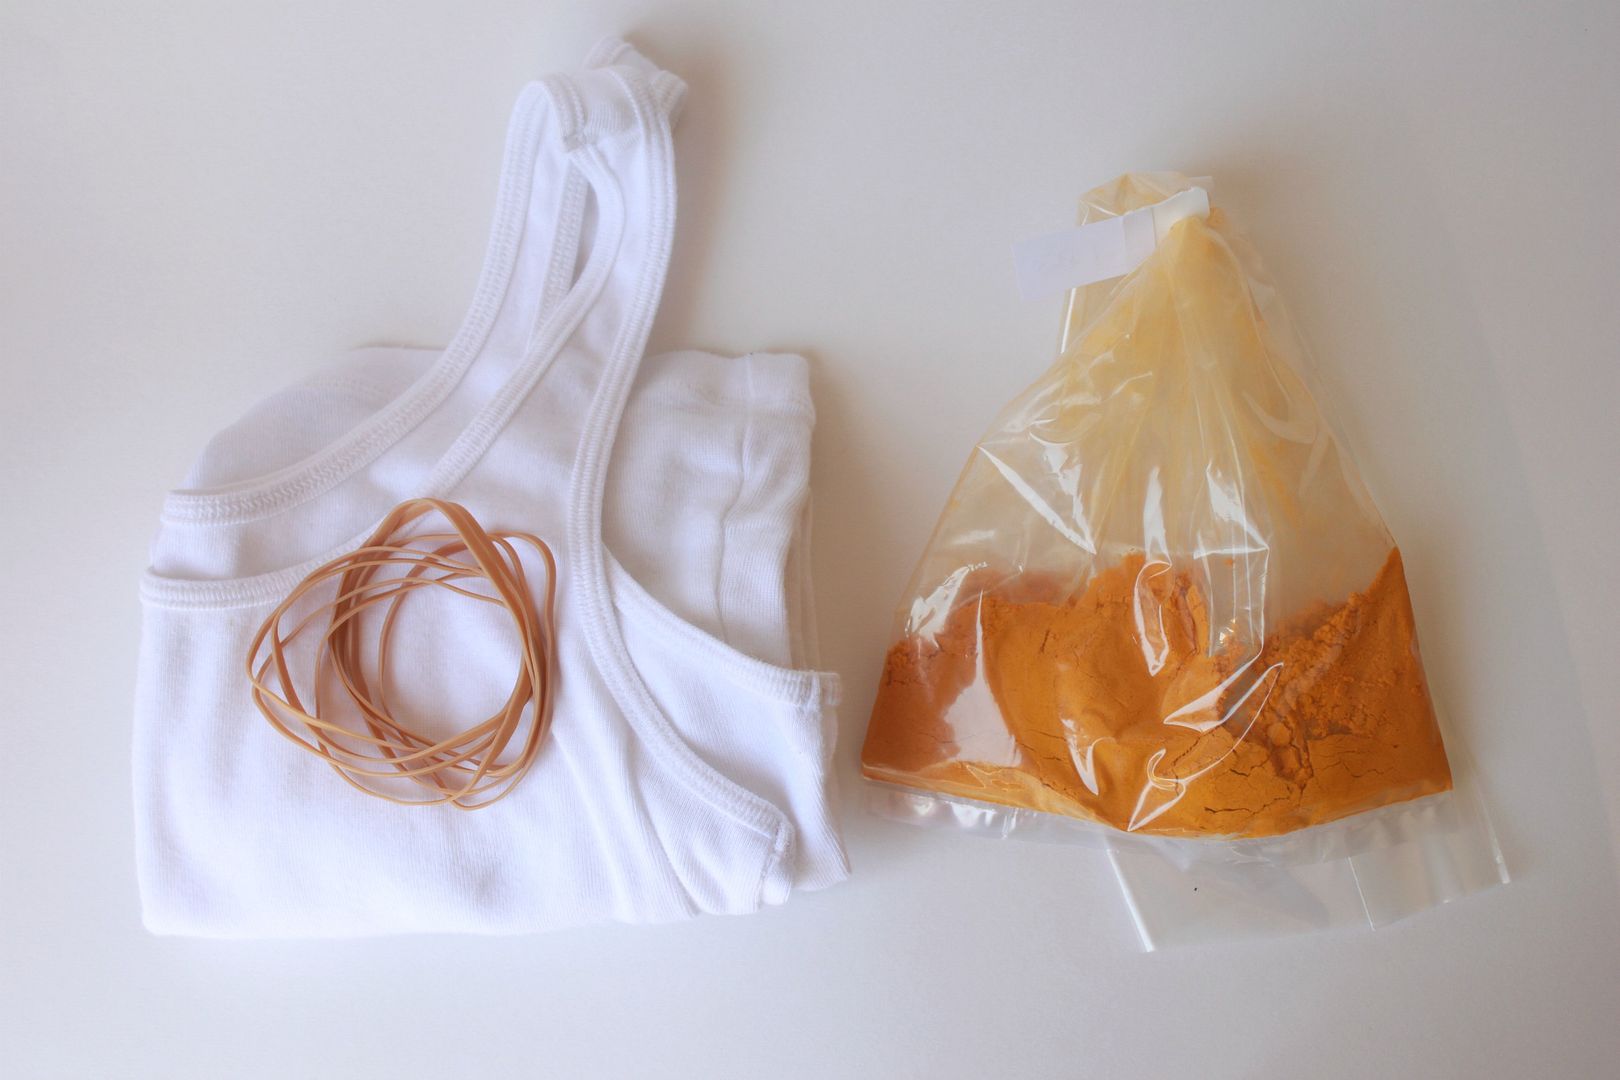
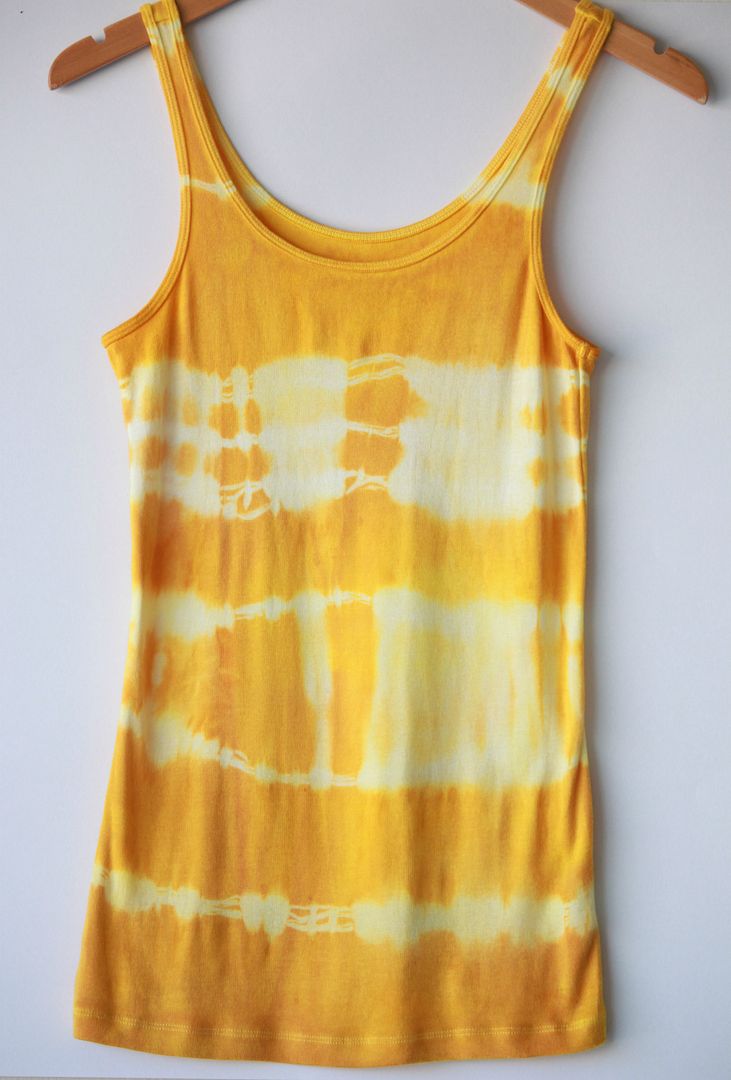
Turmeric is a wonderful little spice that you can find at almost any grocery store. Not only is it a superfood and a beauty remedy that has been used for ages, it is also the perfect all natural dye. I love yellow and turmeric gives clothing a beautiful deep yellow color once dyed.

Here is how you do it...

Start by soaking your shirt in cold water, which will help set the dye. Tightly wrap your rubber bands around your shirt. You can make a million different patterns which is the fun part about this.

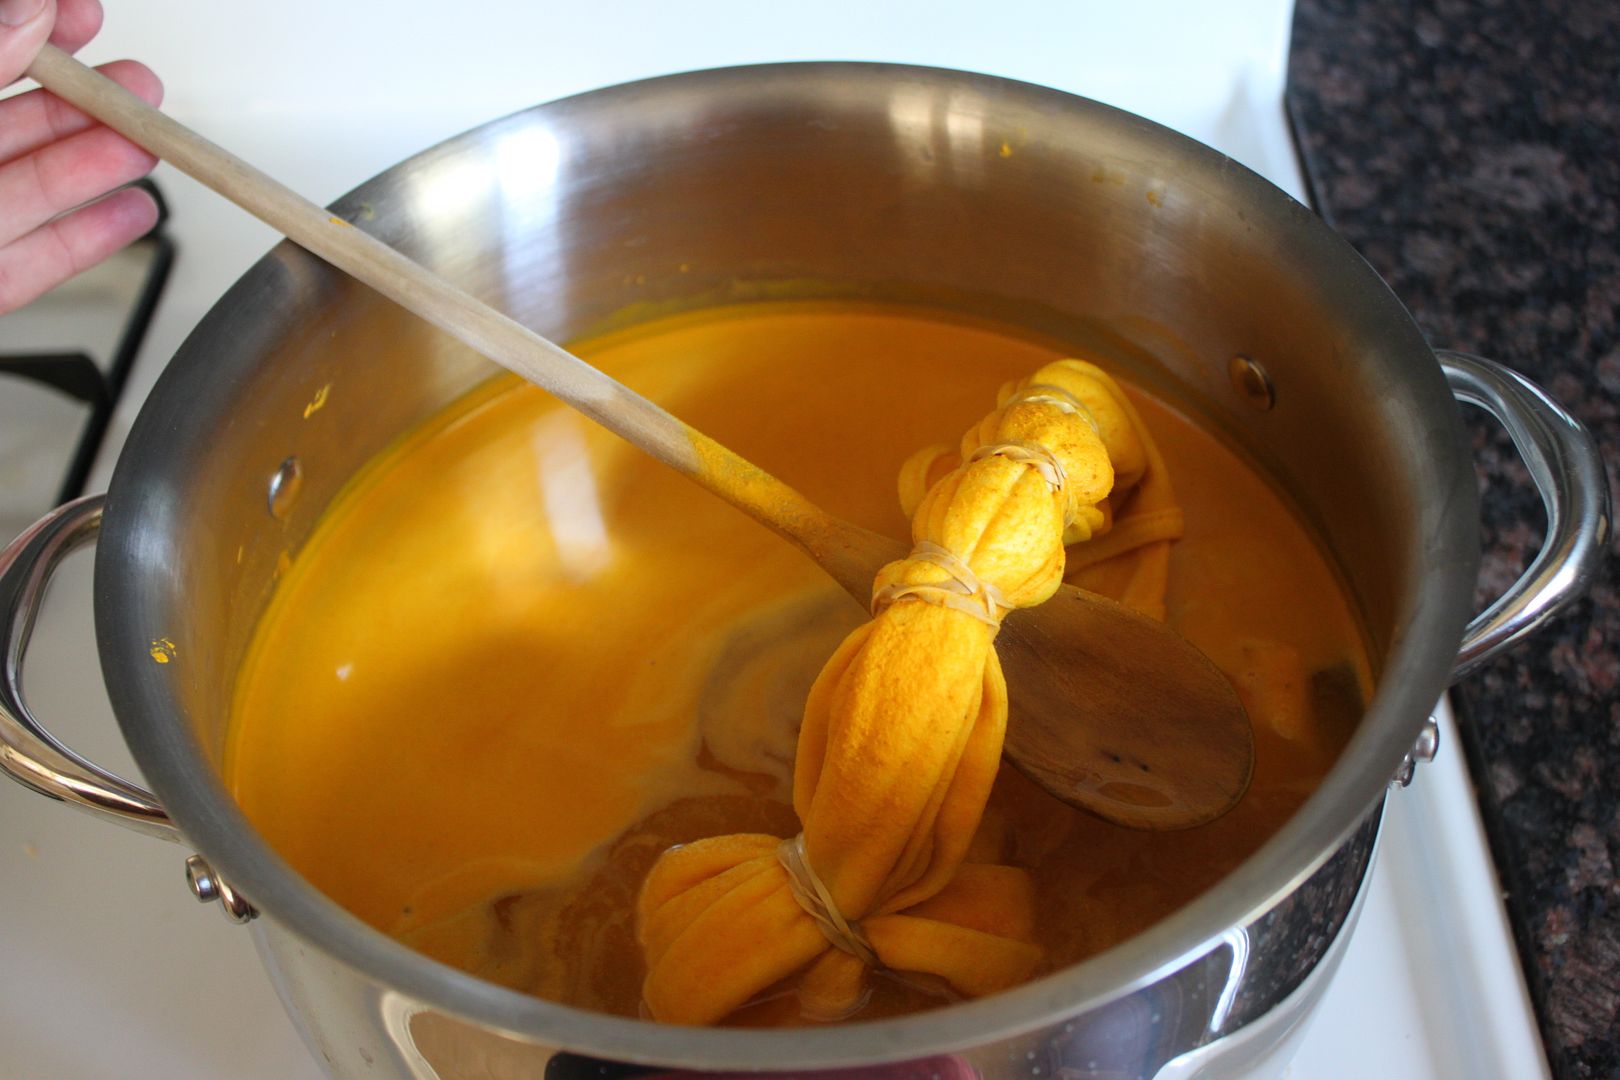
Add 3-4 tablespoons of turmeric powder (I purchased it in bulk at my local health food store) to a large pot of water. Let it simmer for about 30 minutes and then add your shirt. Let it soak in the dye for about an hour. I poked it with a wooden spoon (which is now stained bright yellow forever) every 15 minutes or so to help ensure it was setting evenly. If you want an even deeper yellow you can leave your fabric in the mixture longer.

Once you are satisfied with the color, take out your shirt and rise it in cold water until the water runs clear. Remove the rubber bands and let dry. This is such a simple, green (in this case yellow hehe) way to change up a old white shirt that may need a new life!

On a side note: Happy first day of spring, which is my favorite season of them all!

Skin Care Tip of the Week *How to apply your skin care in the correct order*

Monday, March 19, 2012

Image via

Applying your skin care products in the correct order is very important. Not only will this help ensure that they are working like they are supposed to, but you will get way more out of your products and see a greater result when you apply them in the proper order.

A good way to remember the correct order of skin care products is to start with the lightest and end with the heaviest.

Step one: cleanser
This one is a no brainier but you always want to start with washing your face.

Step two: exfoliant
Exfoliating your skin 3-4 times a week is recommended to help keep dry dead skin cells at bay.

Step three: toner
Using a toner is not necessary if you are using a good ph balanced cleaner. If you do like the feeling of a toner this is when you would use it.

Step four: serum
Applying a serum first will help enhance the active ingredients, making it a much more effective product.

Step five: eye cream
Most people are unsure when exactly to apply an eye cream, but if you do use one this is when you would gently apply it.

Step six: moisturizer
You can always combine your moisturizer with your sunscreen.

Step seven: sunscreen
So important! Never leave the house without putting SPF on your skin.

If you have any other questions regarding the correct application of skin care products feel free to leave them in the comment section and I will be happy to answer below.

Things That Make Me Say Yeay

Friday, March 16, 2012

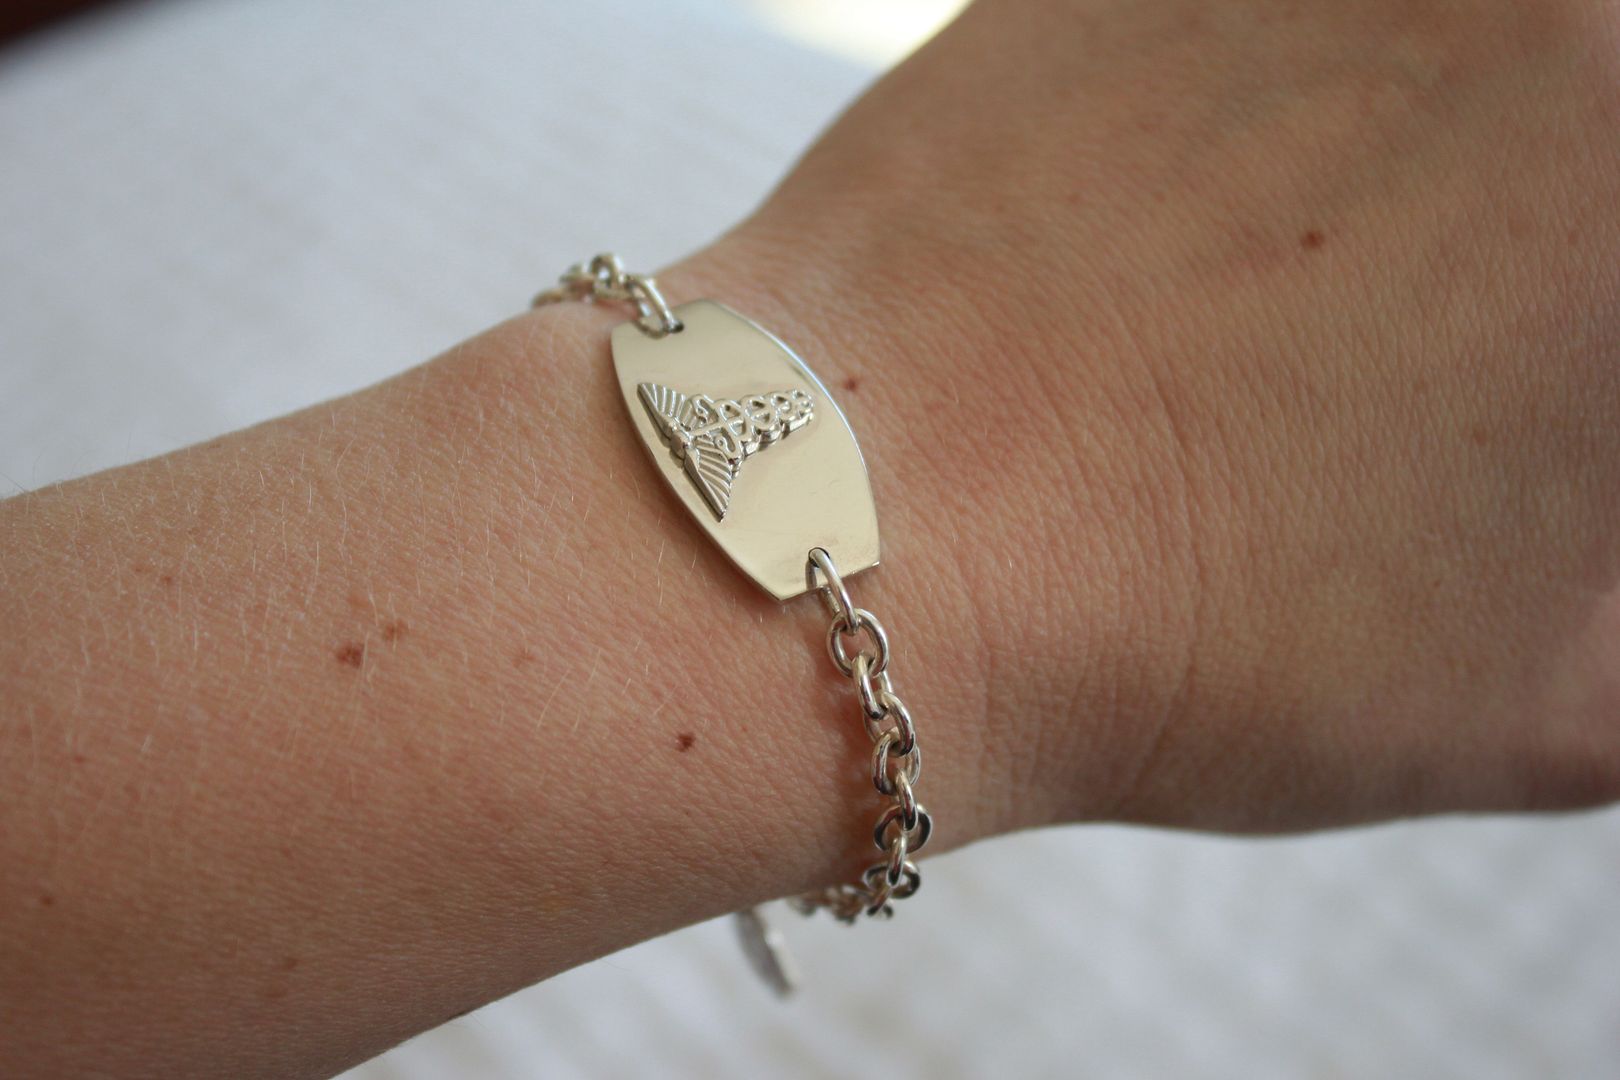
I finally ordered a new MedicAlert bracelet. It says I am type 1 diabetic on the back. So important to have. It will become part of my permanent wrist party no matter what outfit I am wearing. Now that I am looking at this picture I think I might be wearing it upside down...?

The cutest little desk for Max's new big boy room, which was gifted to him and refinished by my sweet Aunt.

Having my esthetician license has its perks. I have access to all sorts of fancy smancy skin care products...but this $6 a tub Indian Healing Clay (that anyone can purchase) is my weekly go to beauty treatment. I mix it with a little apple cider vinegar and the results are pretty awesome.

One of my favorite Dr. Seuss quotes framed for baby Ronin's nursery. Pictures of the nursery coming soon. I am so excited with how it is all coming together.

Baked parsnip fries. A regular weekend request around my house.


Hope you all have a wonderful weekend! If you celebrate St. Pattty's Day have a green beer or two for me :)

DIY Rubber Band Wrapped Cuff

Thursday, March 15, 2012

Sometimes the most random things can spark a diy inspiration. For example...I was in Office Depot the other day looking for an organizer and I spotted this amazing little section of bright colorful rubber bands (ADD kicked in and I completely forgot my organizer ha). I knew they needed to be put to some sort of use other than being just boring old rubber bands.

What you will need:
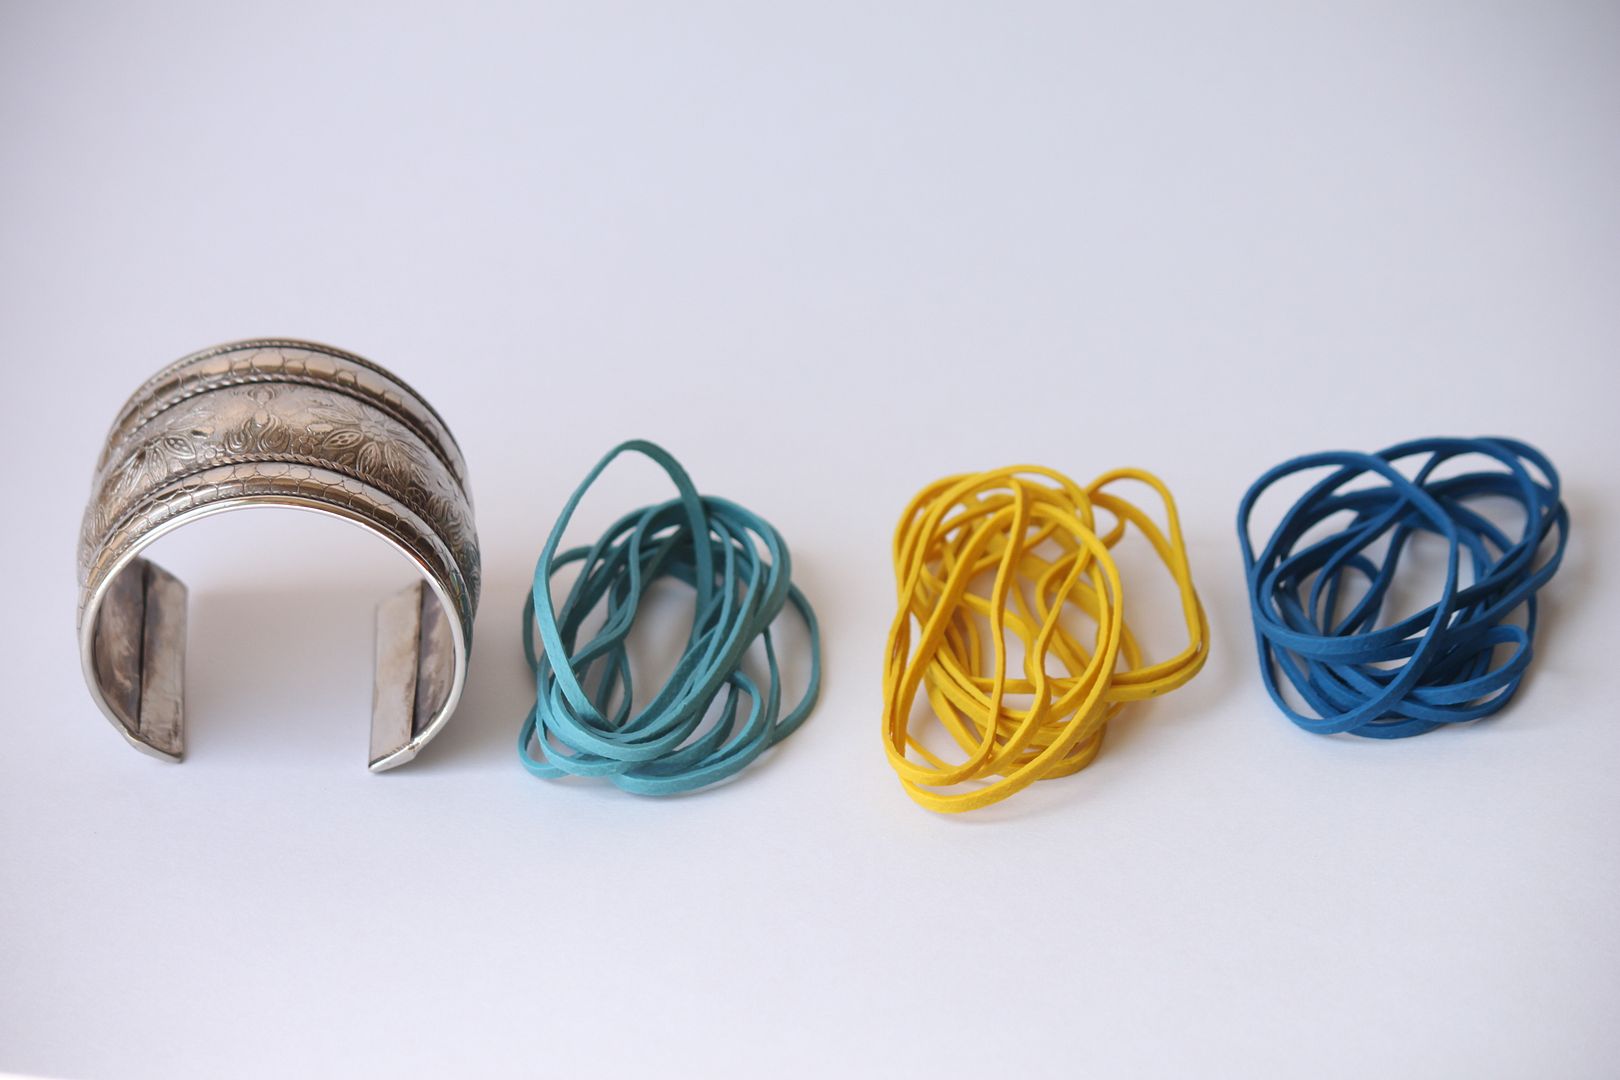
  • A cuff (you need to have a bracelet with an open back for this project). I had this cheap one that I got from Forever 21 a while ago.
  • Colorful rubber bands. You can find these at an office supply store.
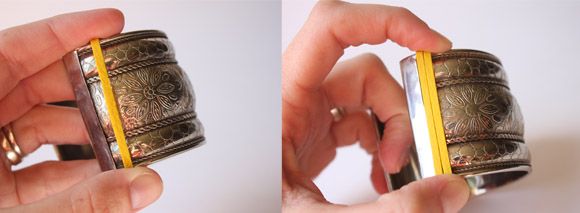
Take a rubber band and wrap it around your cuff twice (or however many times until it is pulled tight).

Continue to add more rubber bands until you are ready to move onto the next color.

Add as many colors as you like!

The finished product. This was seriously so easy and you can get super creative with different patterns and colors! If you enjoy the colorblock trend (see diy wrapped earrings here) this takes about 1/12 of the time!

On a side note: I did not give up on my Pin-tester series. It will resume next week. I have a really fun pin that I can not wait to test out!


Pin It

Sweetened Raw Apple Cider Vinegar Elixir

Wednesday, March 14, 2012

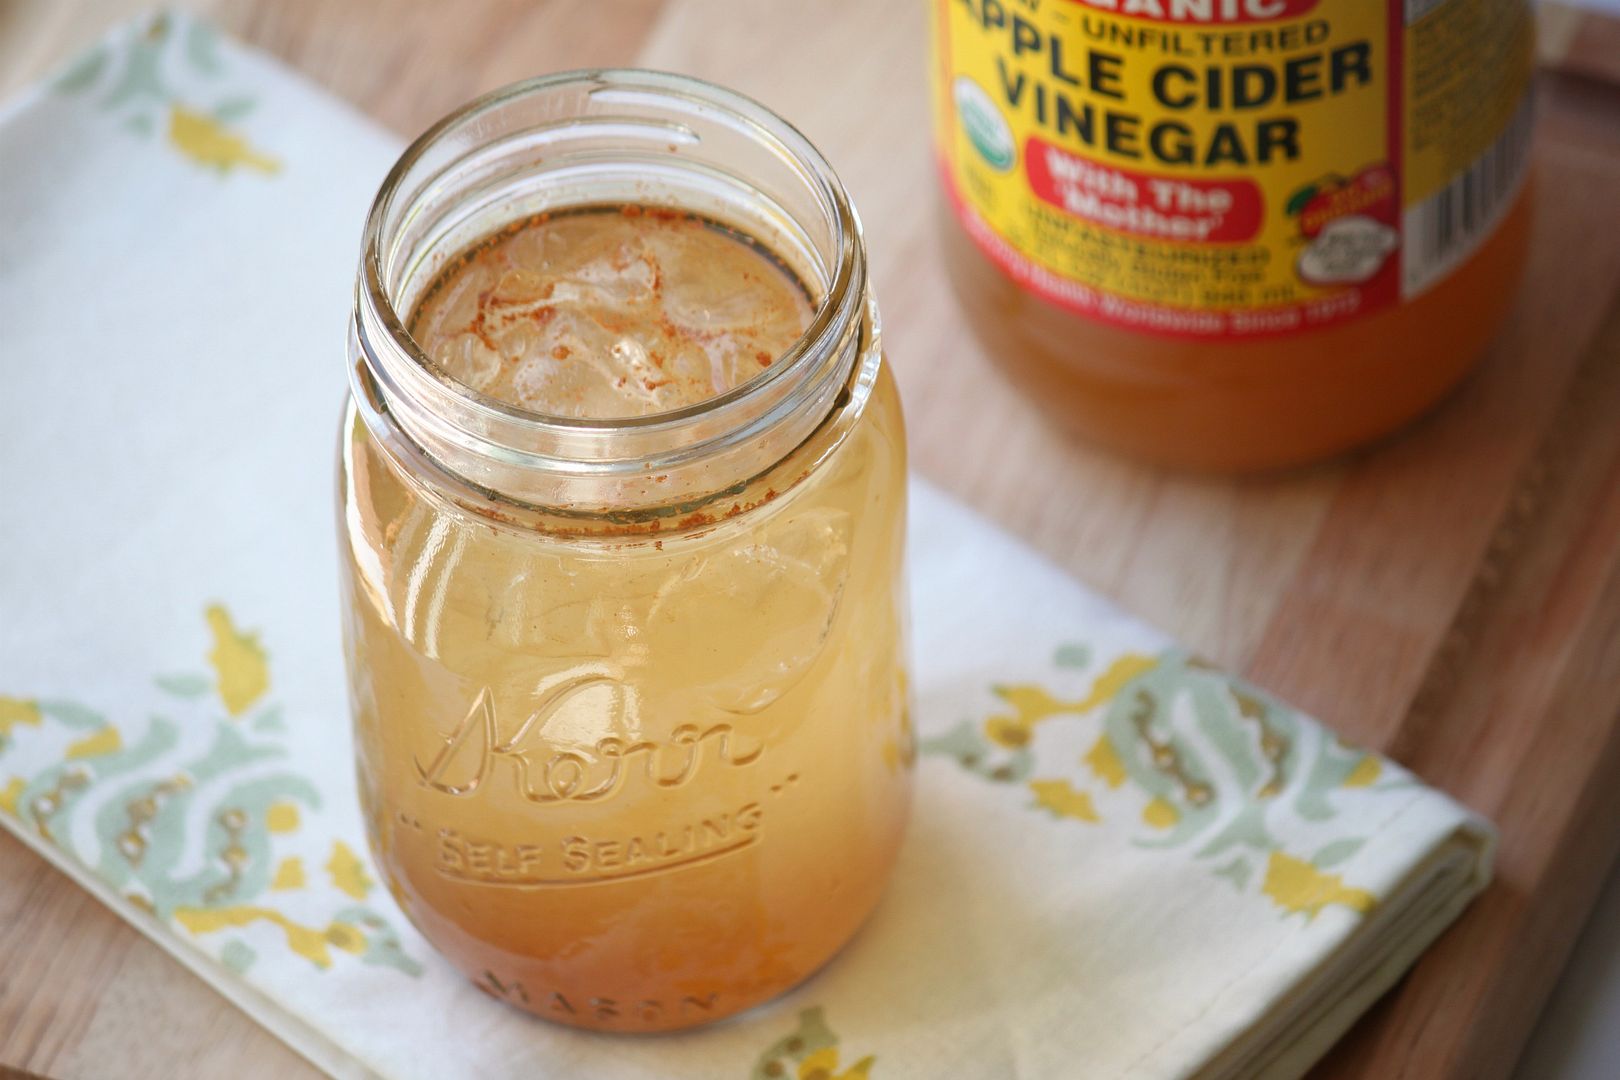
I have received quite a lot of interest from my post on raw apple cider vinegar. So many of you want to know how to make apple cider vinegar just a little bit more "drinkable."

Well I have a great solution. This drink recipe that I am sharing today not only will make it bearable but if you were not a fan of raw apple cider vinegar before this will most likely change your mind.

There are a few things that I swear by...raw apple cider vinegar is one of them. I never go a day without drinking it.

A recap of some of the benefits of apple cider vinegar are:
  • It is a natural remedy for heartburn.
  • Can help clear up skin conditions and acne (read this post for more information)
  • Promotes digestion and will keep you regular
  • Helps control weight
  • Can help regulate blood sugar (as a type 1 diabetic this has made a huge difference for me)
  • Helps reduce sinus infections and sore throats (my husband starts drinking this like crazy whenever he feels a cold coming on)
  • It is rich in enzymes and potassium
  • Can help ease menstrual cramps
  • Helps promote youthful healthy bodies

Sweetened Raw Apple Cider Vinegar Elixir:

  • 1 1/2 cup of cold filtered water
  • 2 tbs of apple or grape juice
  • 2 tbs of raw apple cider vinegar
  • 1/2 tsp of cinnamon
  • 1/2 tsp of stevia (powdered) if using liquid you only need a few drops.

* I only suggest using raw, organic, unfiltered apple cider vinegar.

Place all the ingredients together in a glass and stir until it is all mixed together. You can add a little ice if you like, and drink!

This tastes sweet and delicious! If you try this--please come back and let me know what you think.

Pin It

Migraines Suck

Tuesday, March 13, 2012

Image via

I have had headaches before, no big deal. Well Saturday evening around 10pm I experienced my first migraine. Wooooa! Nothing like a headache. I felt like my neck was a toothpick and my head was a bowling ball about to explode. I concluded it was from the fried calamari (which I rarely ever eat) that I had a few hours before during a date with my husband. Maybe my body was rejecting it?

I went to bed and woke up Sunday morning and it was worse. Since I am super ADD/OCD I did not take it easy and decided I needed to parade all around town looking for the perfect shelves for the nursery (so stupid I know and I still did not find them). This obviously made it even worse. I went to bed early and woke up yesterday and it was magnified to a level that was now unbearable. My blood sugars were shooting through the roof (a natural response due to me being in pain) and my vision was all fuzzy and blurry. Every head movement felt like a hammer banging against my head.

I called my OB and she said I needed to head on down to the hospital to rule out a few things. Off I went. They checked on the baby. He was doing great and bouncing around like a little chimpanzee. They took my blood pressure and did a few blood tests. Everything was normal.

After they ruled out hypertension/preeclampsia they chalked up my migraine to pregnancy hormones and stress. The nurses told me I needed to take it easy and relax a little more. Easier said then done...but I know it needs to happen.

I had some time to think yesterday as I laid there in my not so sexy ripped hospital gown. I realized I have a hard time saying no to people. I hate the feeling of possibly letting someone down by not being able to do something. I end up over committing myself and I wind up feeling overwhelmed and stressed as a result. I need to enjoy these last couple months of pregnancy and not over commit myself to anything or anyone. I decided it's okay to say no and the people who truly care and matter will always understand.

I recently read this great quote from Oprah that said, "Although it may feel uncomfortable to think about saying no, it's important to remember that each time you say yes to someone or something else, you say no to you and your priorities." That is so true and really hits home for me.

Skin Care Tip of the Week *DIY white clay mask*

Monday, March 12, 2012

I have discussed green clay before, but today I am going to talk about white clay.

When combined with other healthy skin care habits, a clay mask is a great way to keep your skin looking it's best. Using a mask suitable for your skin type 2-3 times a week is what I recommend.

White clay is the mildest of all clays, making it the perfect treatment for those with sensitive and dry skin.

Benefits of a white clay mask:
  • It helps stimulate circulation to the skin, while gently cleansing and exfoliating the skin.
  • It is a wonderful pore refining treatment.
  • It does not draw oils from the skin, making it an excellent treatment for those with dry skin.
  • It is a natural mineral boosting and anti-aging treatment.
  • It is super affordable to buy and do yourself!
Where can you buy white clay?
I purchase mine at my local Sprouts (specialty health food store). Find out where your local specialty health food store is and see if they carry products in bulk. You can also purchase it in bulk here.

DIY White Clay Mask :
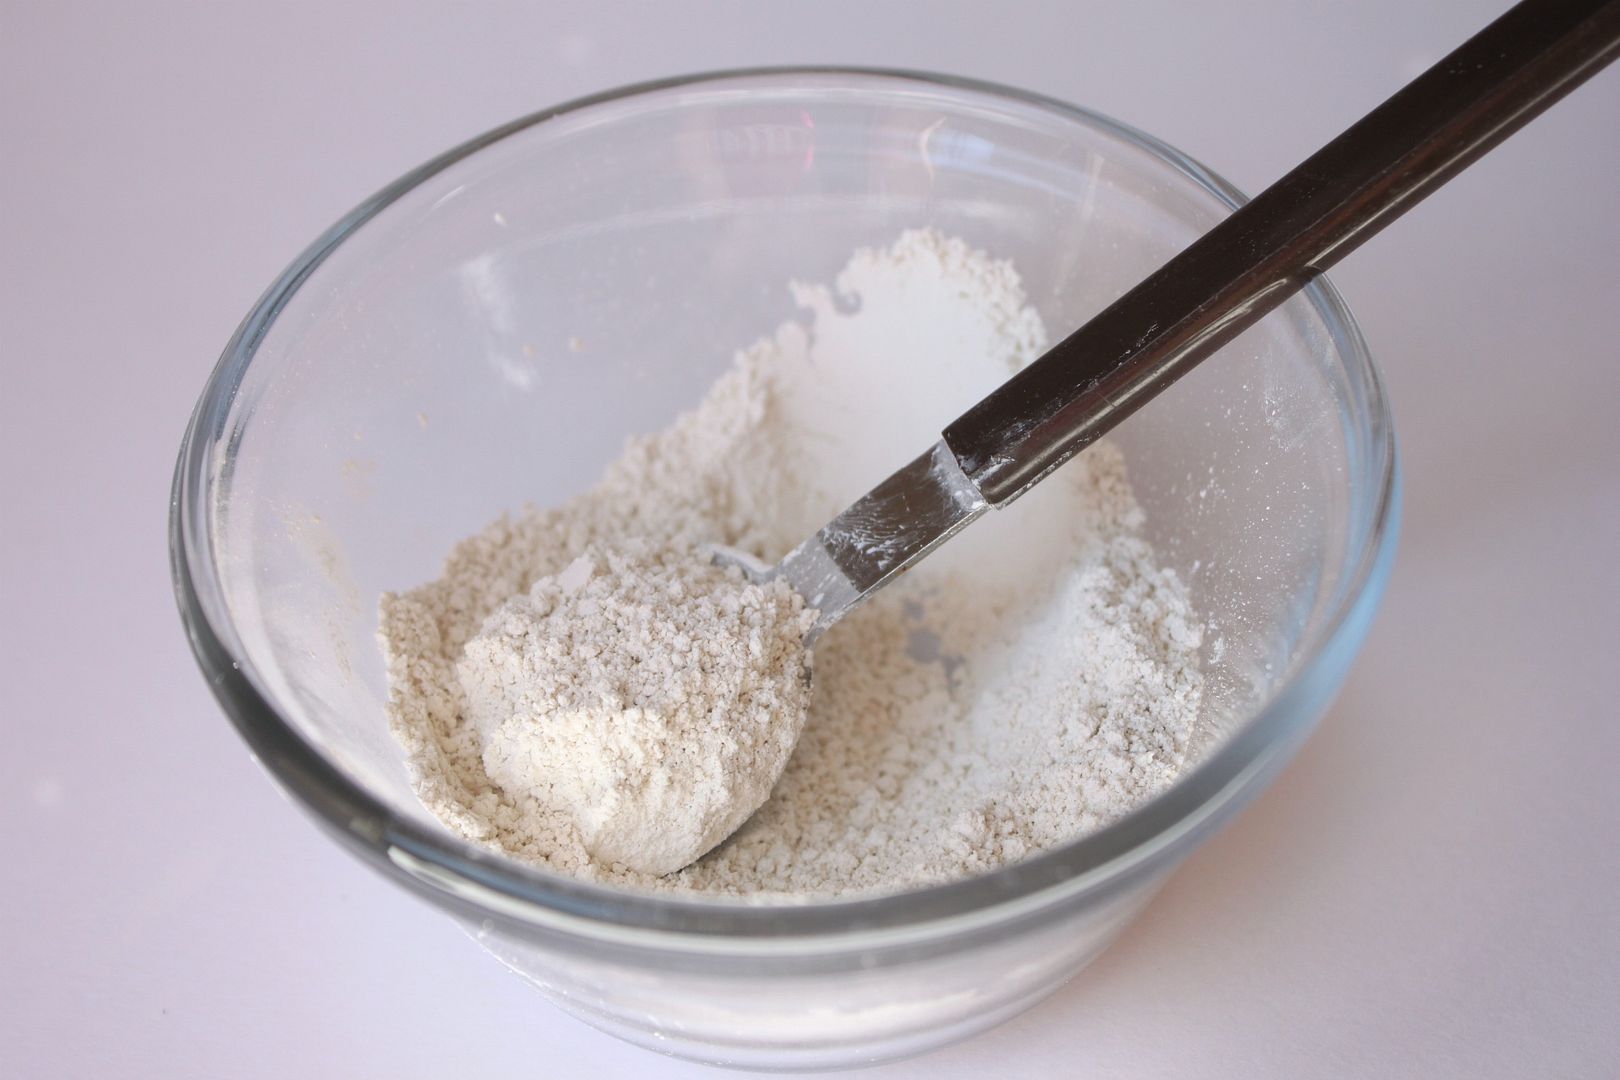
  1. Add 2 tablespoon of white clay to a clean dish.
  2. Add 2 tsp of purified or distilled water.
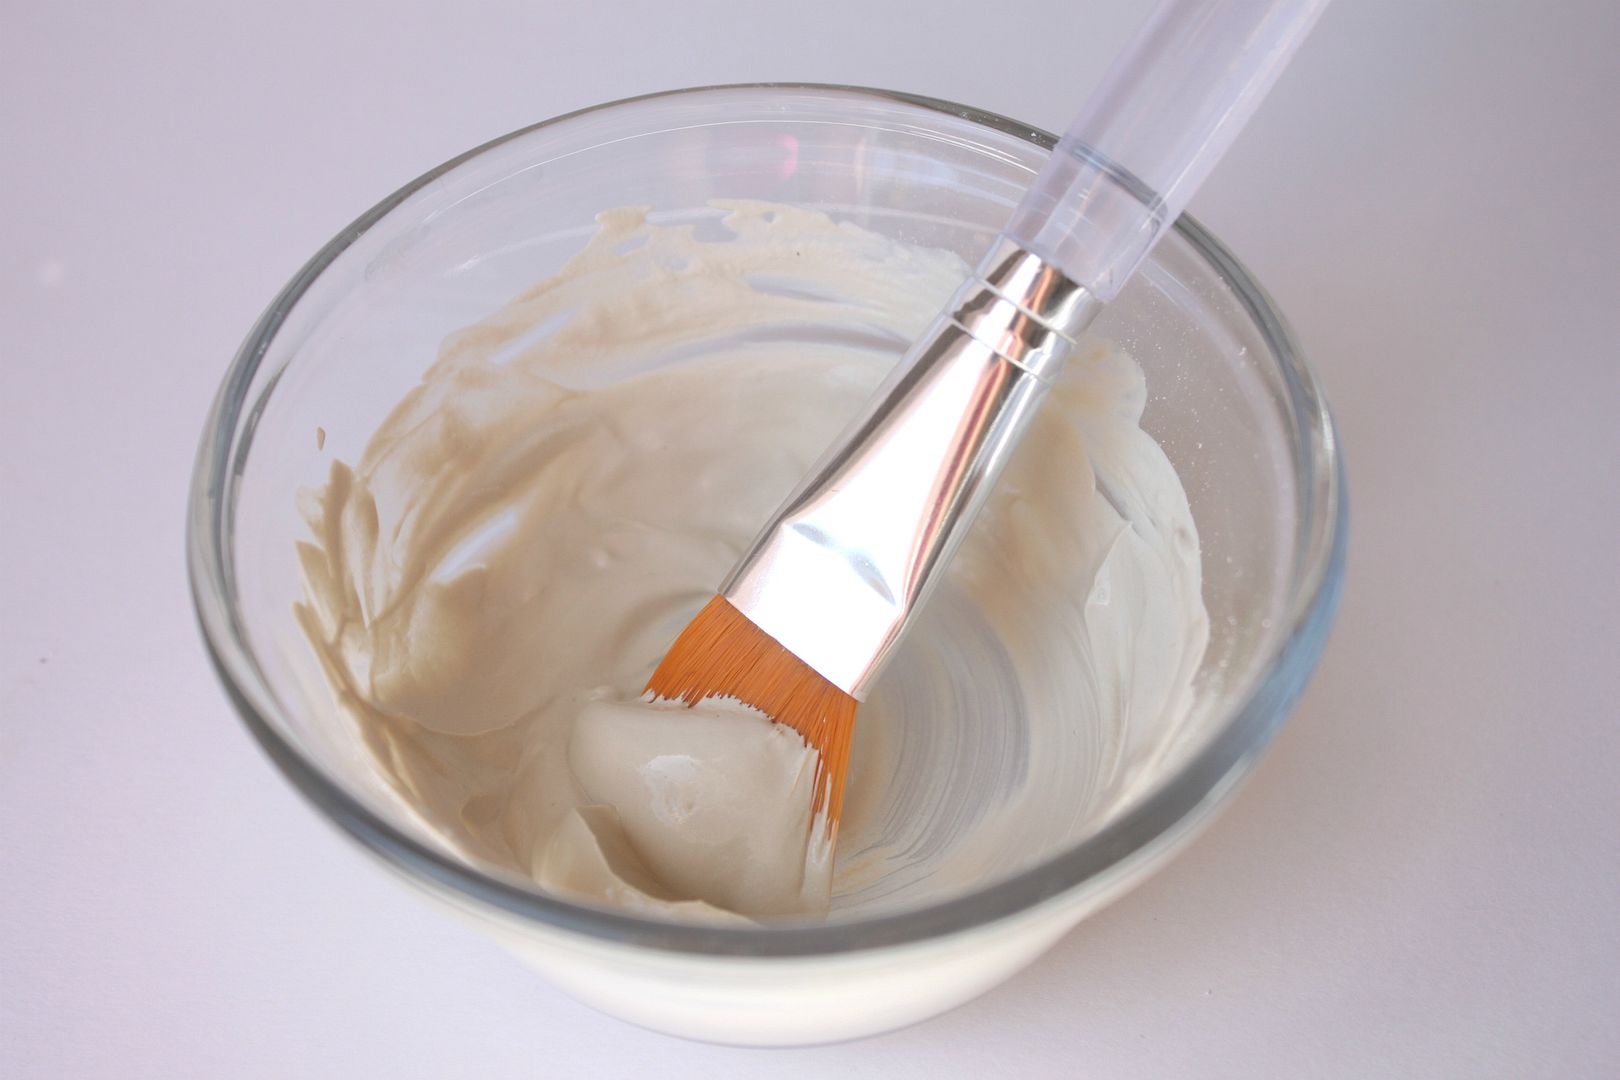
  3. Apply to skin using a soft facial brush (you can find these at a beauty supply store).
  4. Leave on your skin for 15-20 minutes.
  5. Remove using warm water and a soft cloth.
  6. Follow up with a toner (see an all natural rose water toner here) and moisturizer.

*If you are interested in a mask that will draw out excess oils and help with acne, the green clay mask would be a great choice for you.

Pin It

Things That Make Me Say Yeay

Friday, March 9, 2012

One positive aspect about having a high risk pregnancy is the twice weekly ultrasounds I have to do. Seeing this little face never gets old. Technology amazes me. Confession: Before I had kids I always thought these 3D pictures were soo creepy. Now I love them.

Signs of spring.

Adorable handmade booties gifted to me by this amazing gal!

Kumquats. My favorite snack from our local Farmers Market.


Have you watched this video yet? If you have an extra 30 minutes to spare please do! It is powerful. I support this movement %100.

Hope you all have a wonderful weekend!

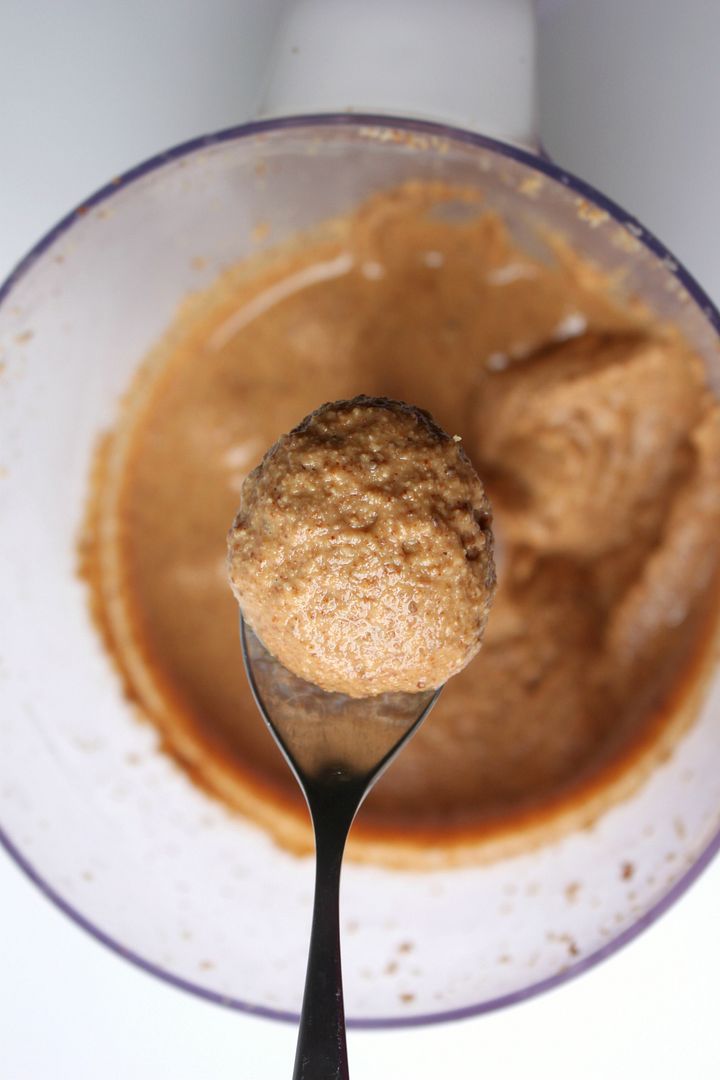
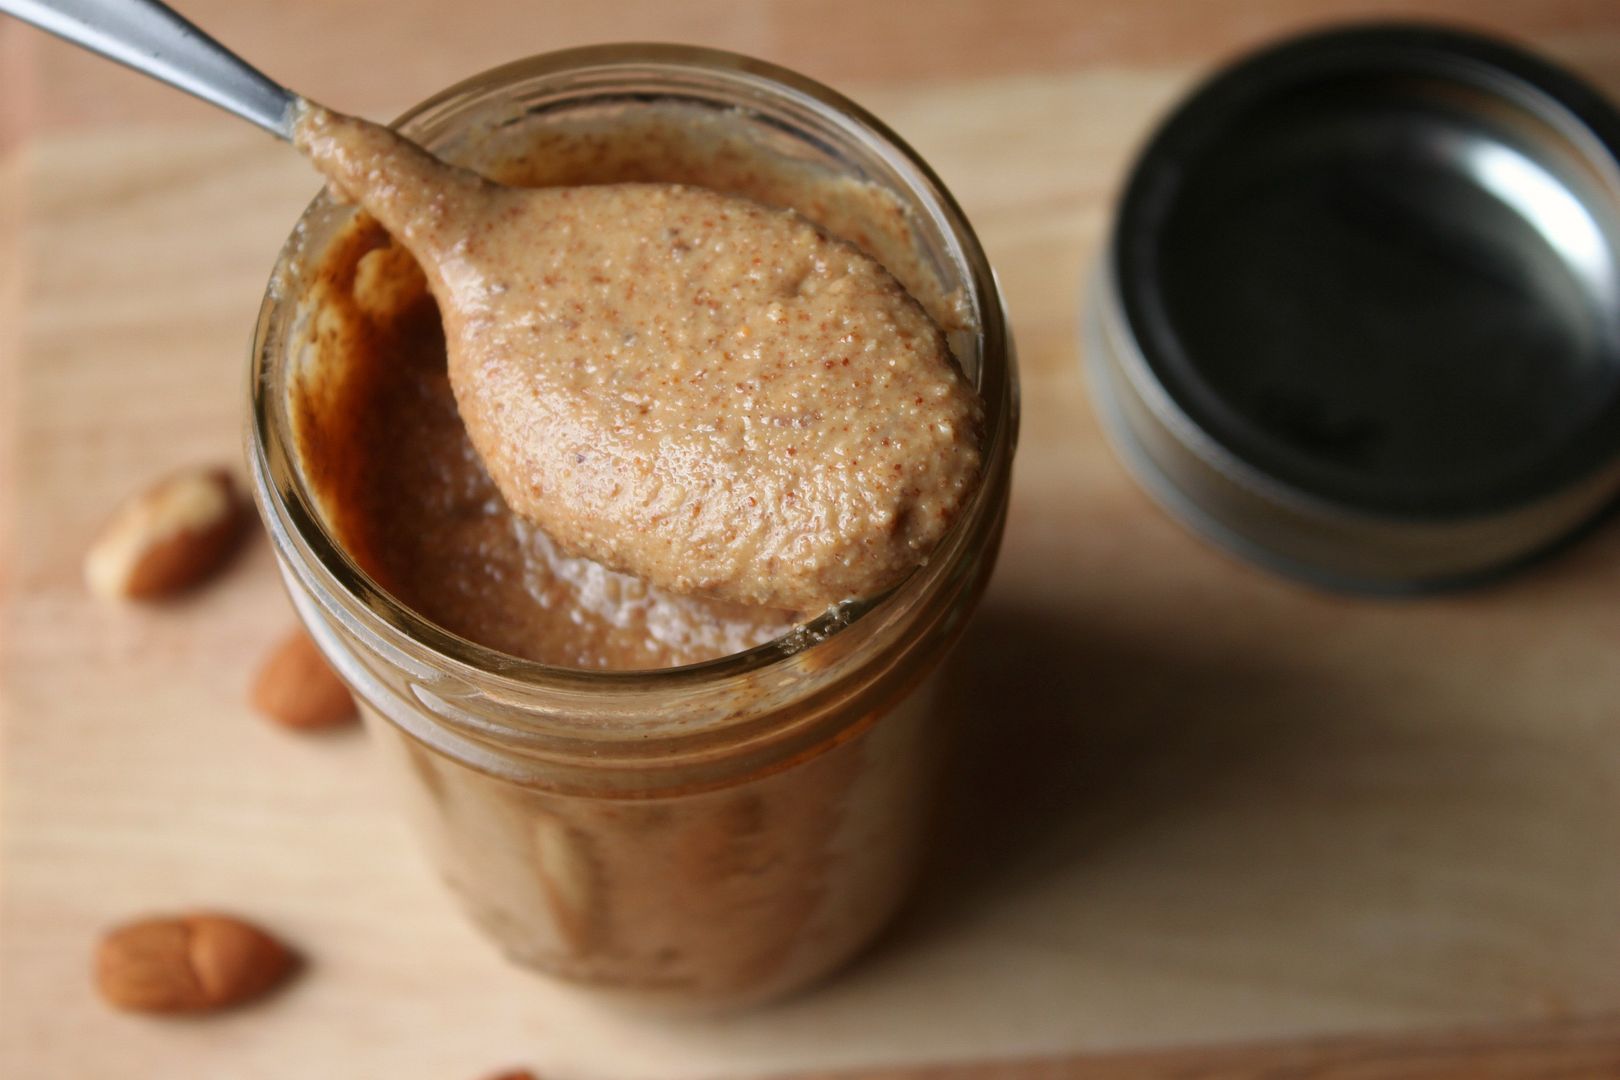
Almond Coconut Butter

Thursday, March 8, 2012

My family loves almond butter. We put it on or in pretty much everything...apples, carrots, pancakes, toast, energy snacks, and smoothies. I recently started making it from scratch and once you make it from scratch you will never buy store bought almond butter ever again, it is that good. The following recipe is one that I have come up with on my own after playing around with a few ingredients.

What you will need:
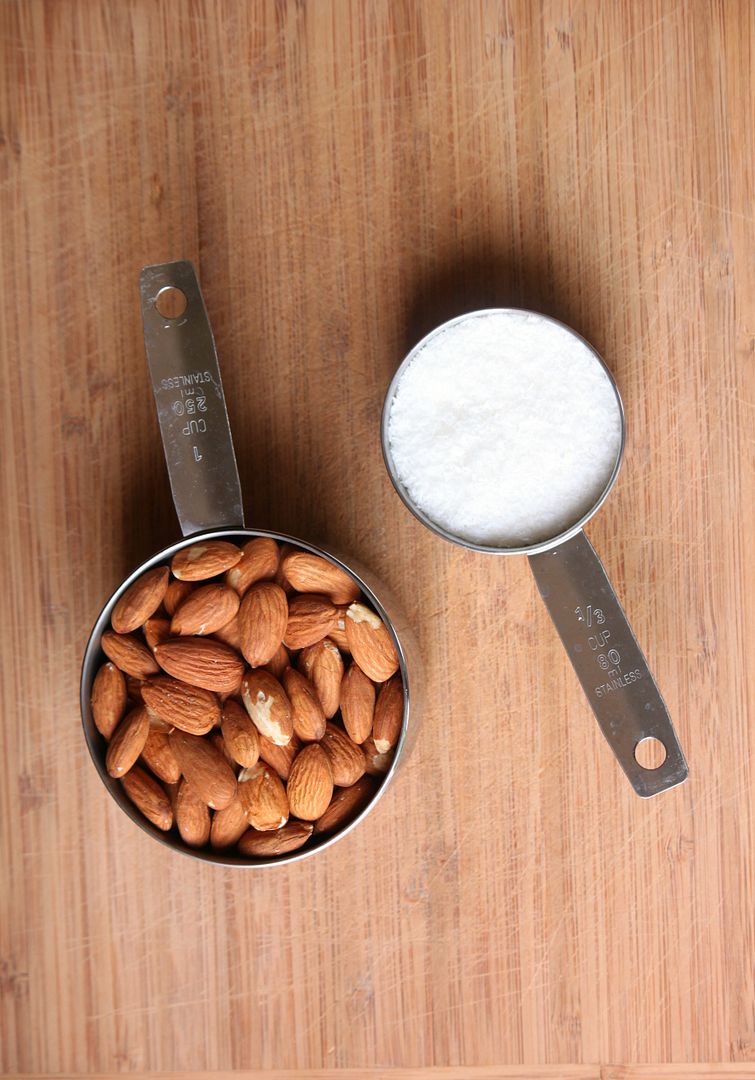
  • 2 cups of dry roasted almonds
  • 1/3 cup of unsweetened coconut flakes
  • 1/2 tsp of sea salt
Directions:
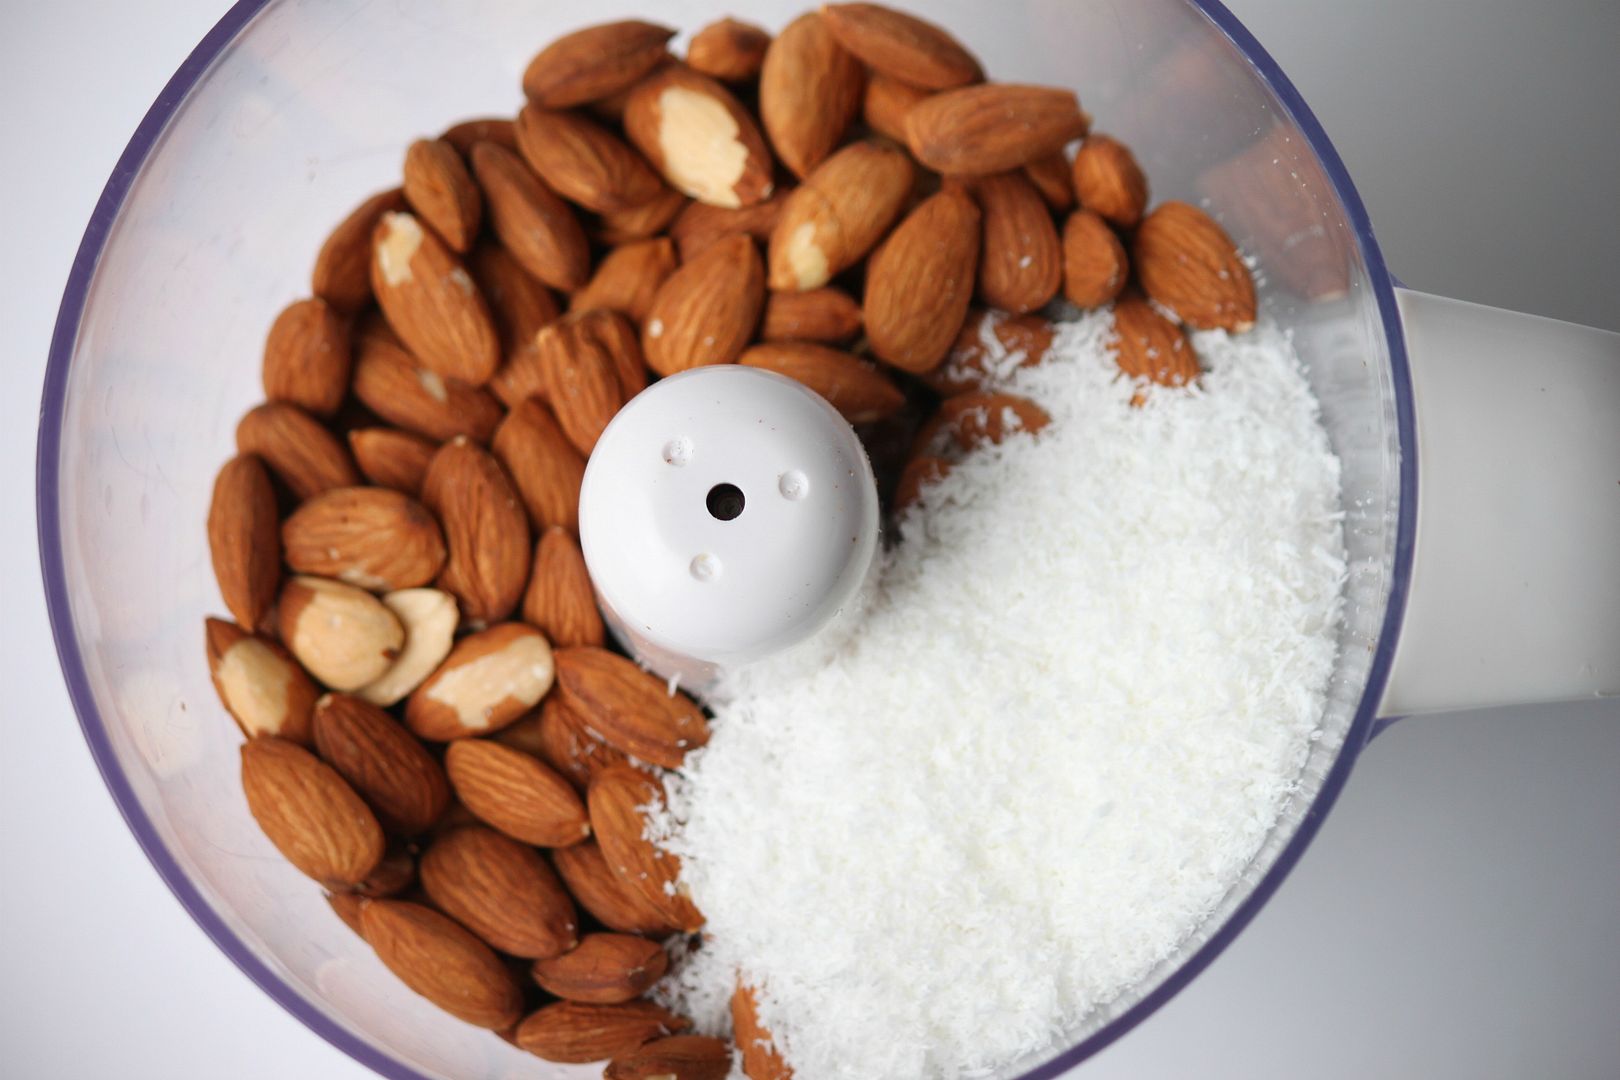
  1. Place all of the ingredients into a food processor (if you do not own a food processor its a great little kitchen item to have).
  2. Turn your food processor on high and let it run for about 10 minutes. Half way through you will start to wonder how in the world this crumbly mess will turn into almond butter but trust me.
  3. Check your almond butter at 10 minutes. It should start to transform into a chunky butter at this point. If you like smooth almond butter let your processor run until it is nice and creamy.
  4. Scoop out your fresh almond butter and place in an airtight container or jar.
This is creamy, fresh, easy to make and tastes nothing like anything purchased from a store.

Pin It
Related Posts Plugin for WordPress, Blogger...