 After this post I might be known as the crazy polymer clay lady. I was going though my past DIYs and most of them include polymer clay.
It is seriously my favorite material to work with. This DIY is a spin off of this one I did a little while back. I received several (okay 2) e-mails with readers requesting a how-to tutorial on how I made these bracelets. So I will share!
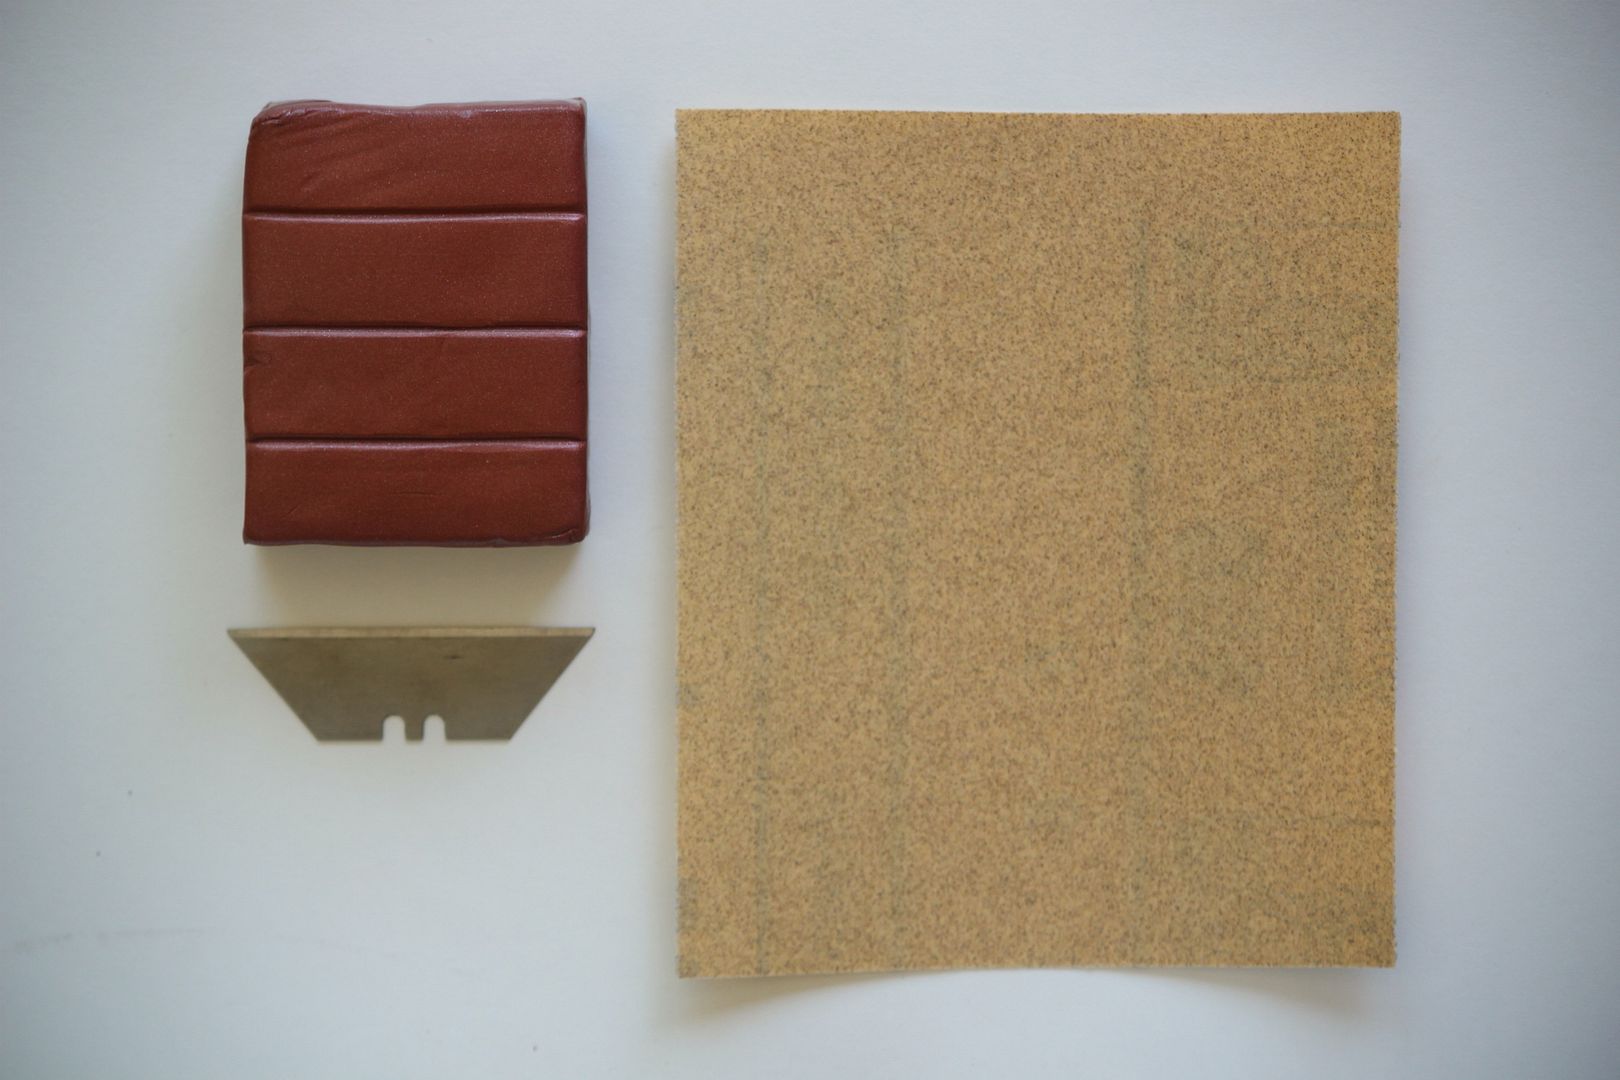
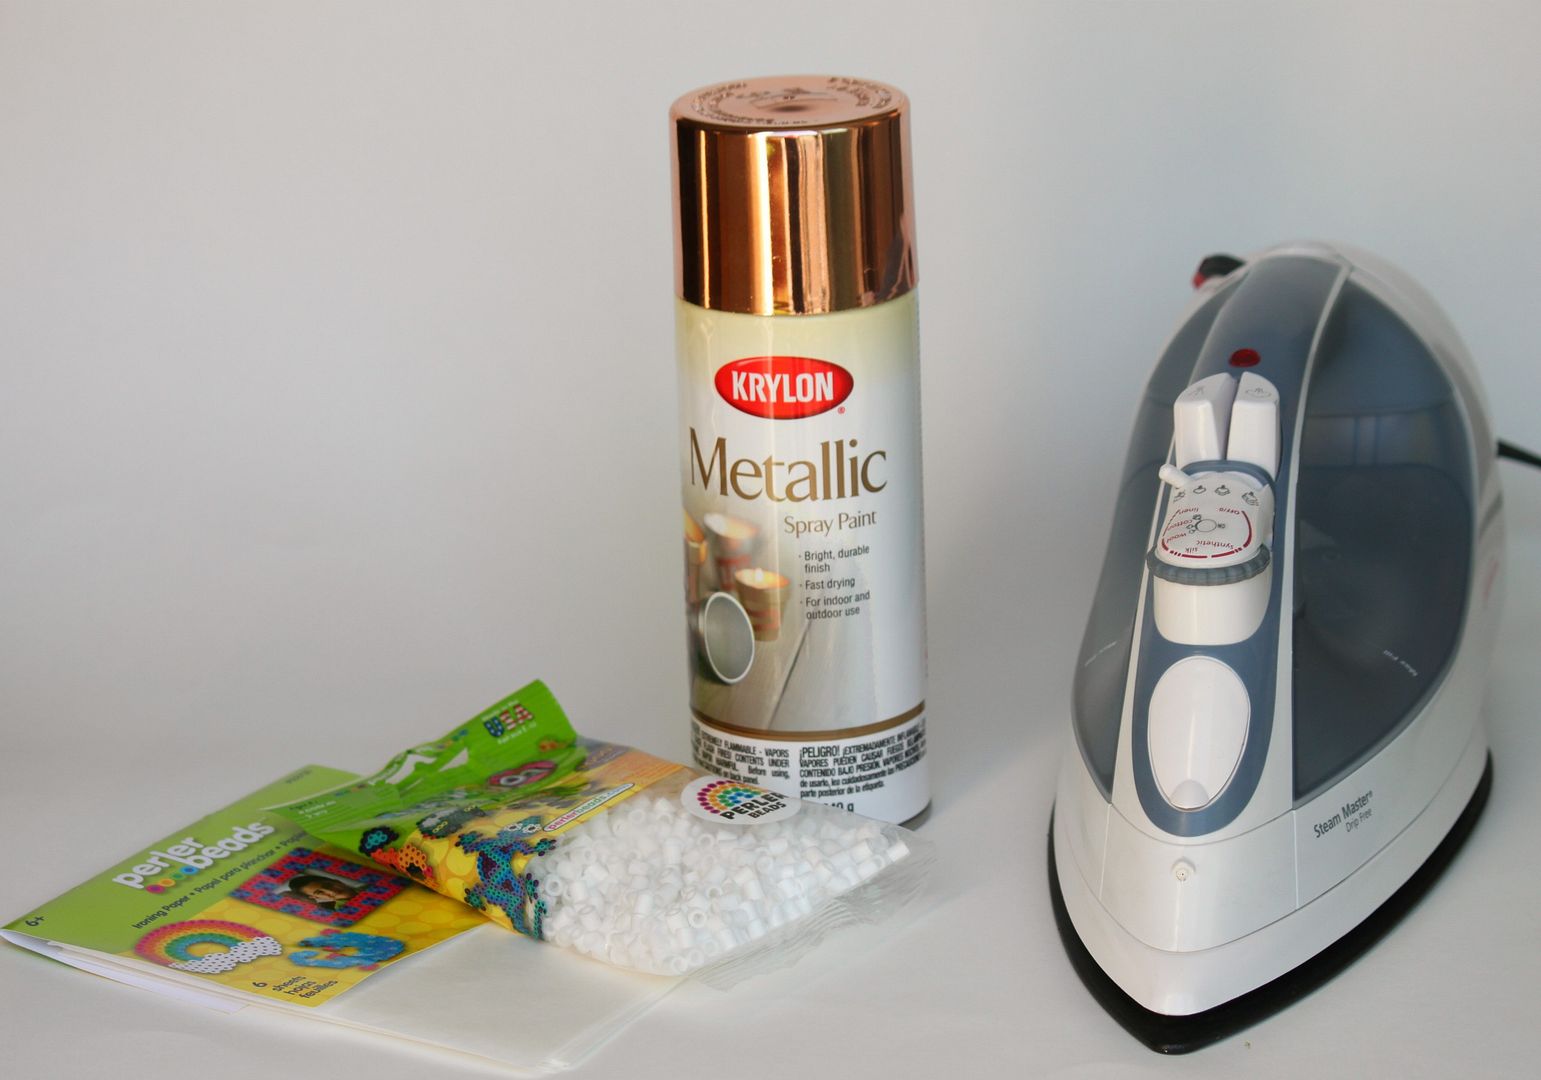
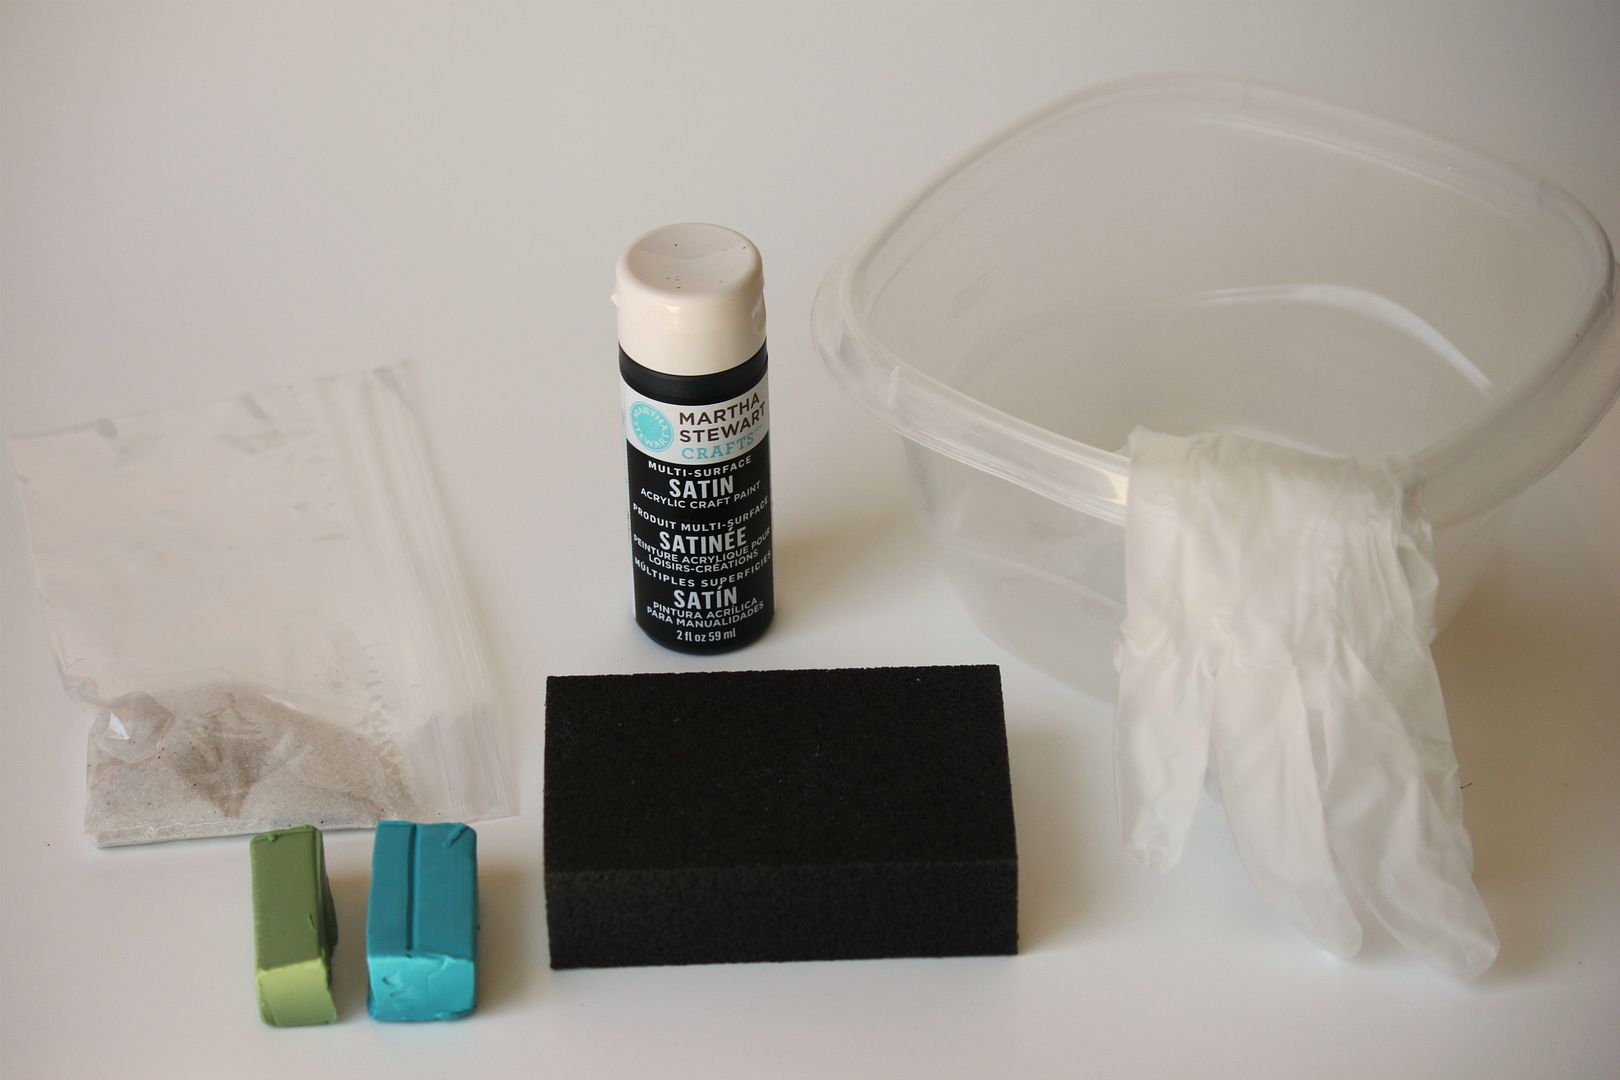
What you will need:
- Polymer Clay
- Razor Blade
- Sand paper
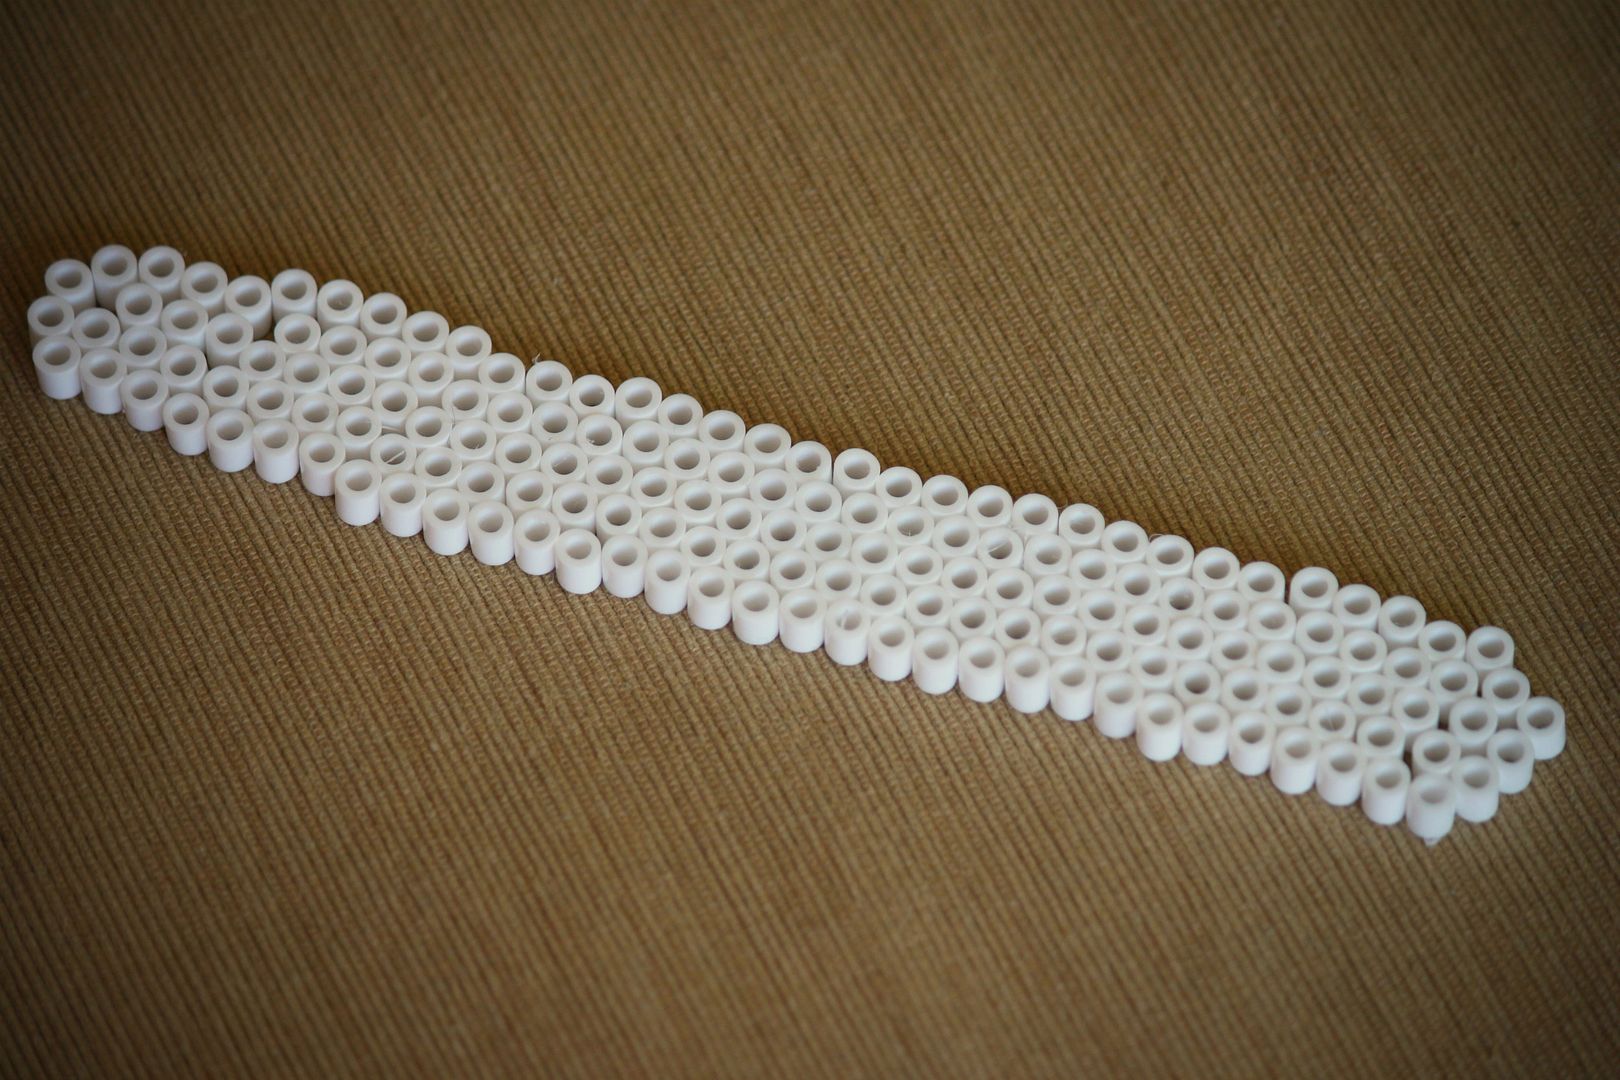
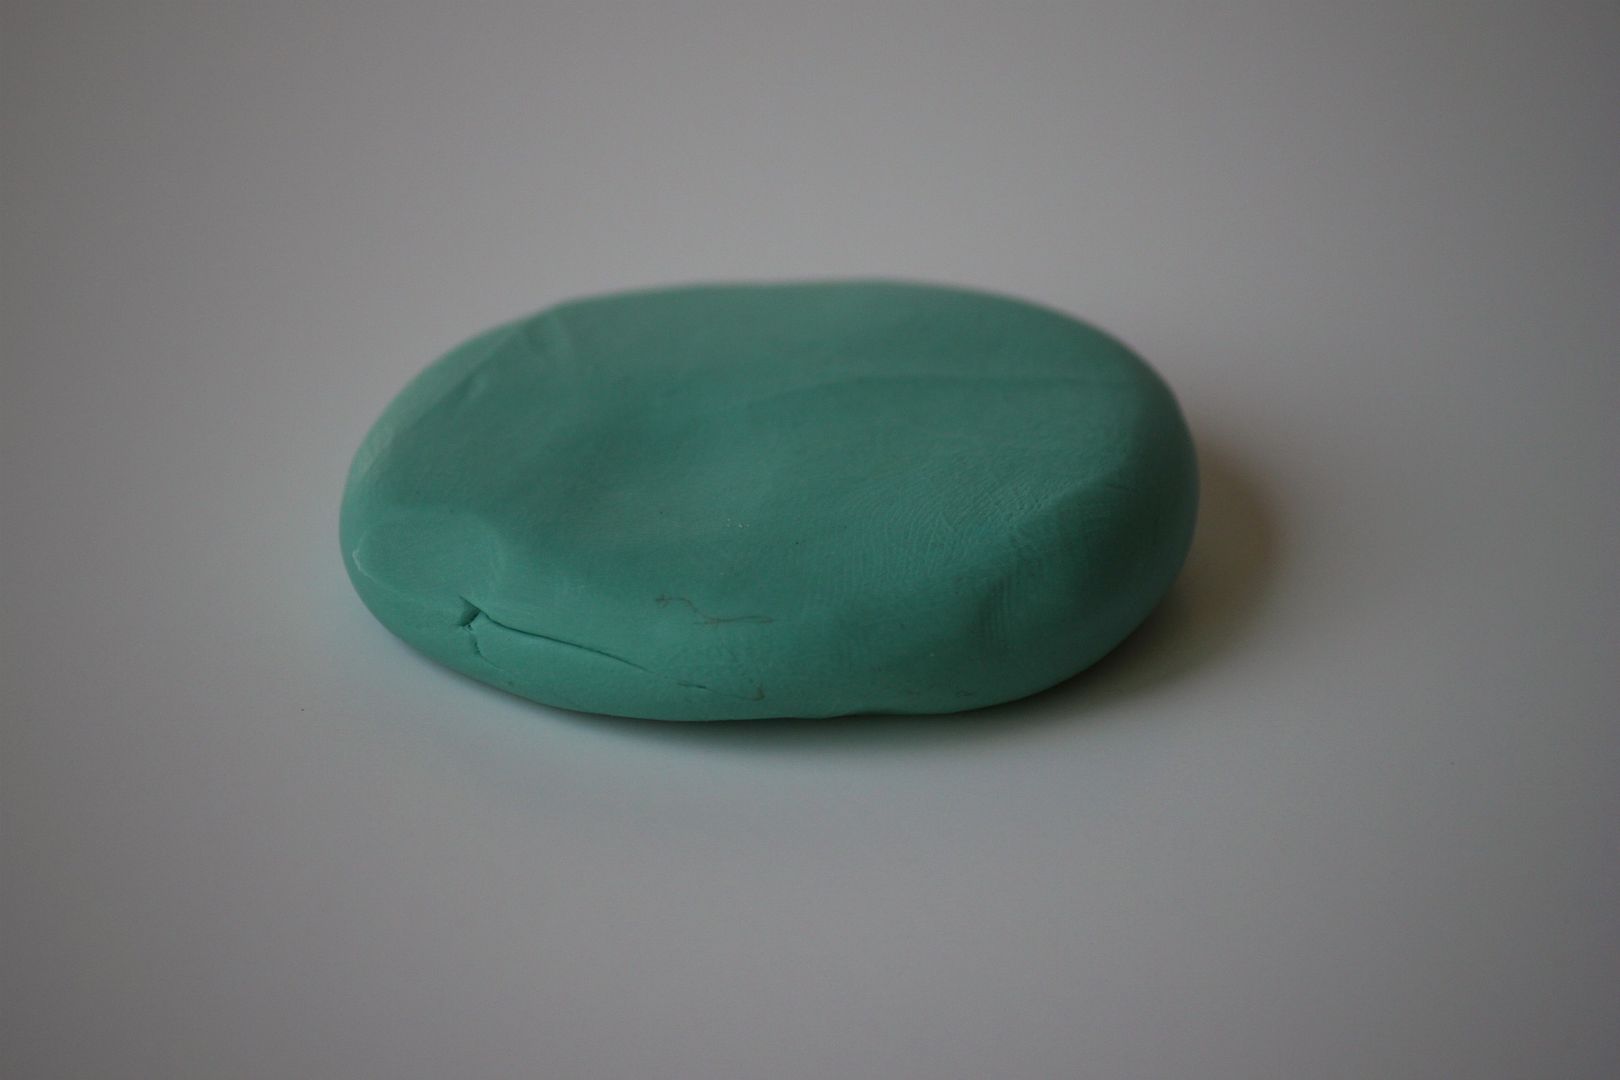
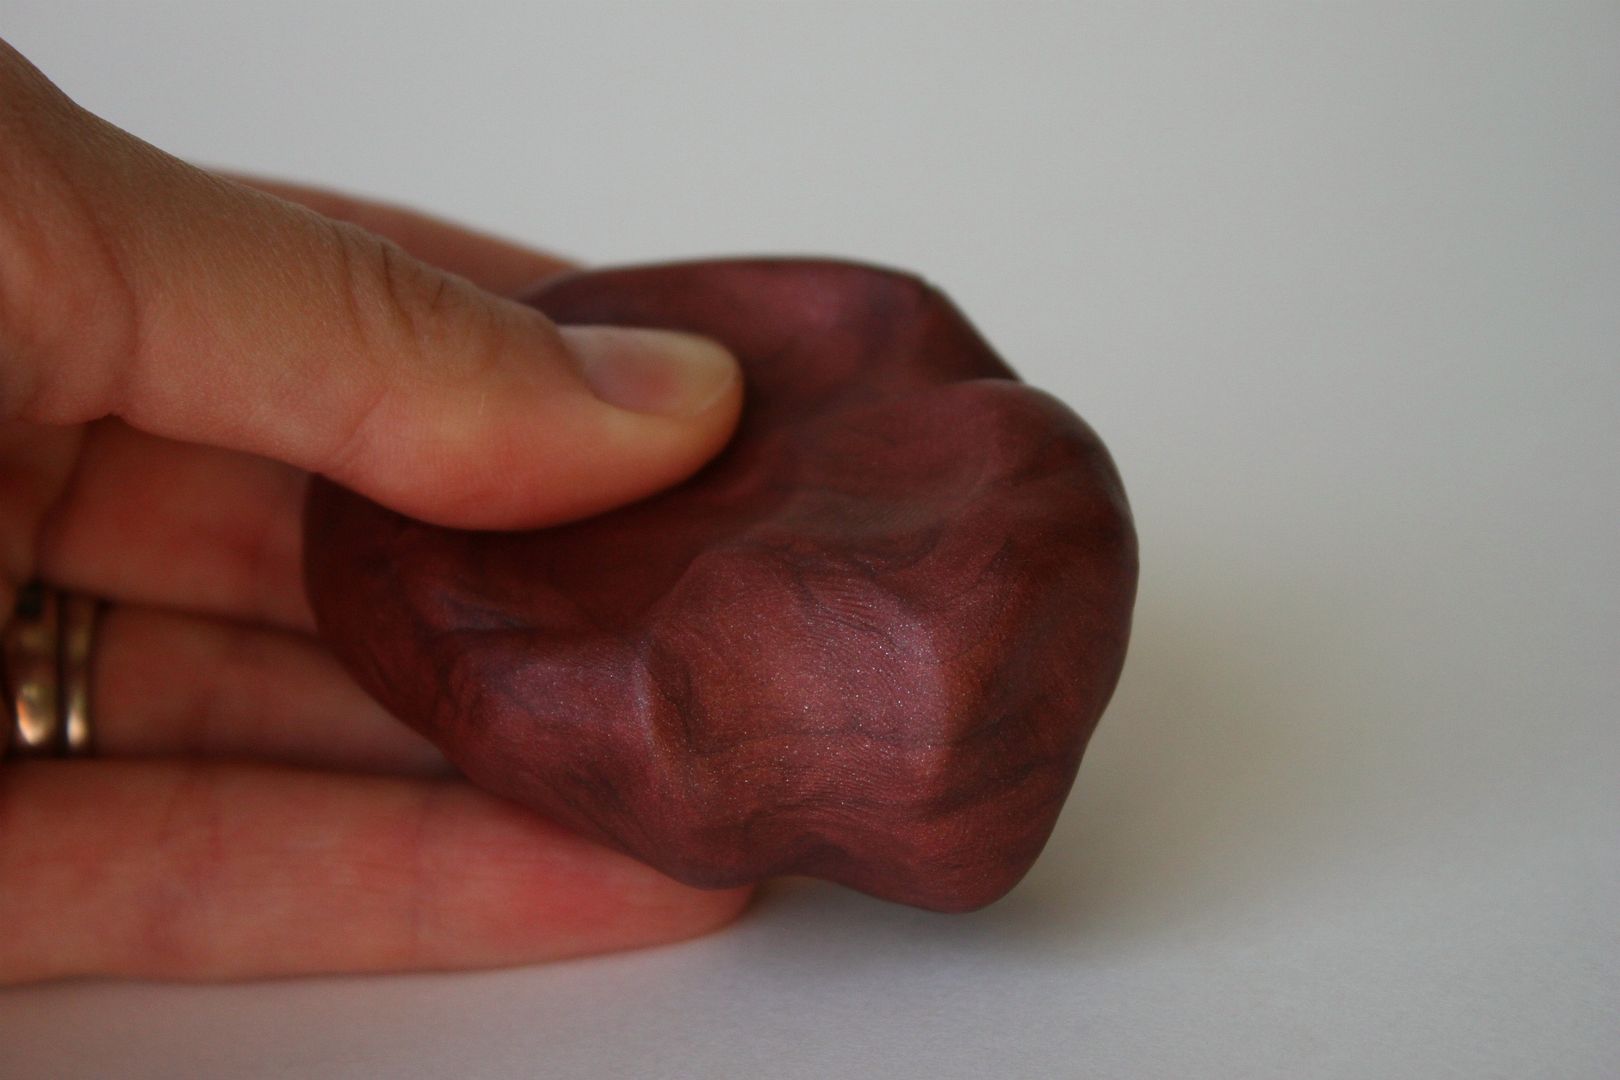 Prepare your clay by kneading it between your hands until it is soft and pliable.
 Roll the ball of clay into a long semi thick tube that fits and measures around your wrist. Connect the two ends by gently mashing them together and then gently rolling out the connected area with your finger.
Place your bangle in the freezer for 5-6 min (yep you read that right). I discovered after making quite a few of these that if they are cold they are easier to sculpt and carve.
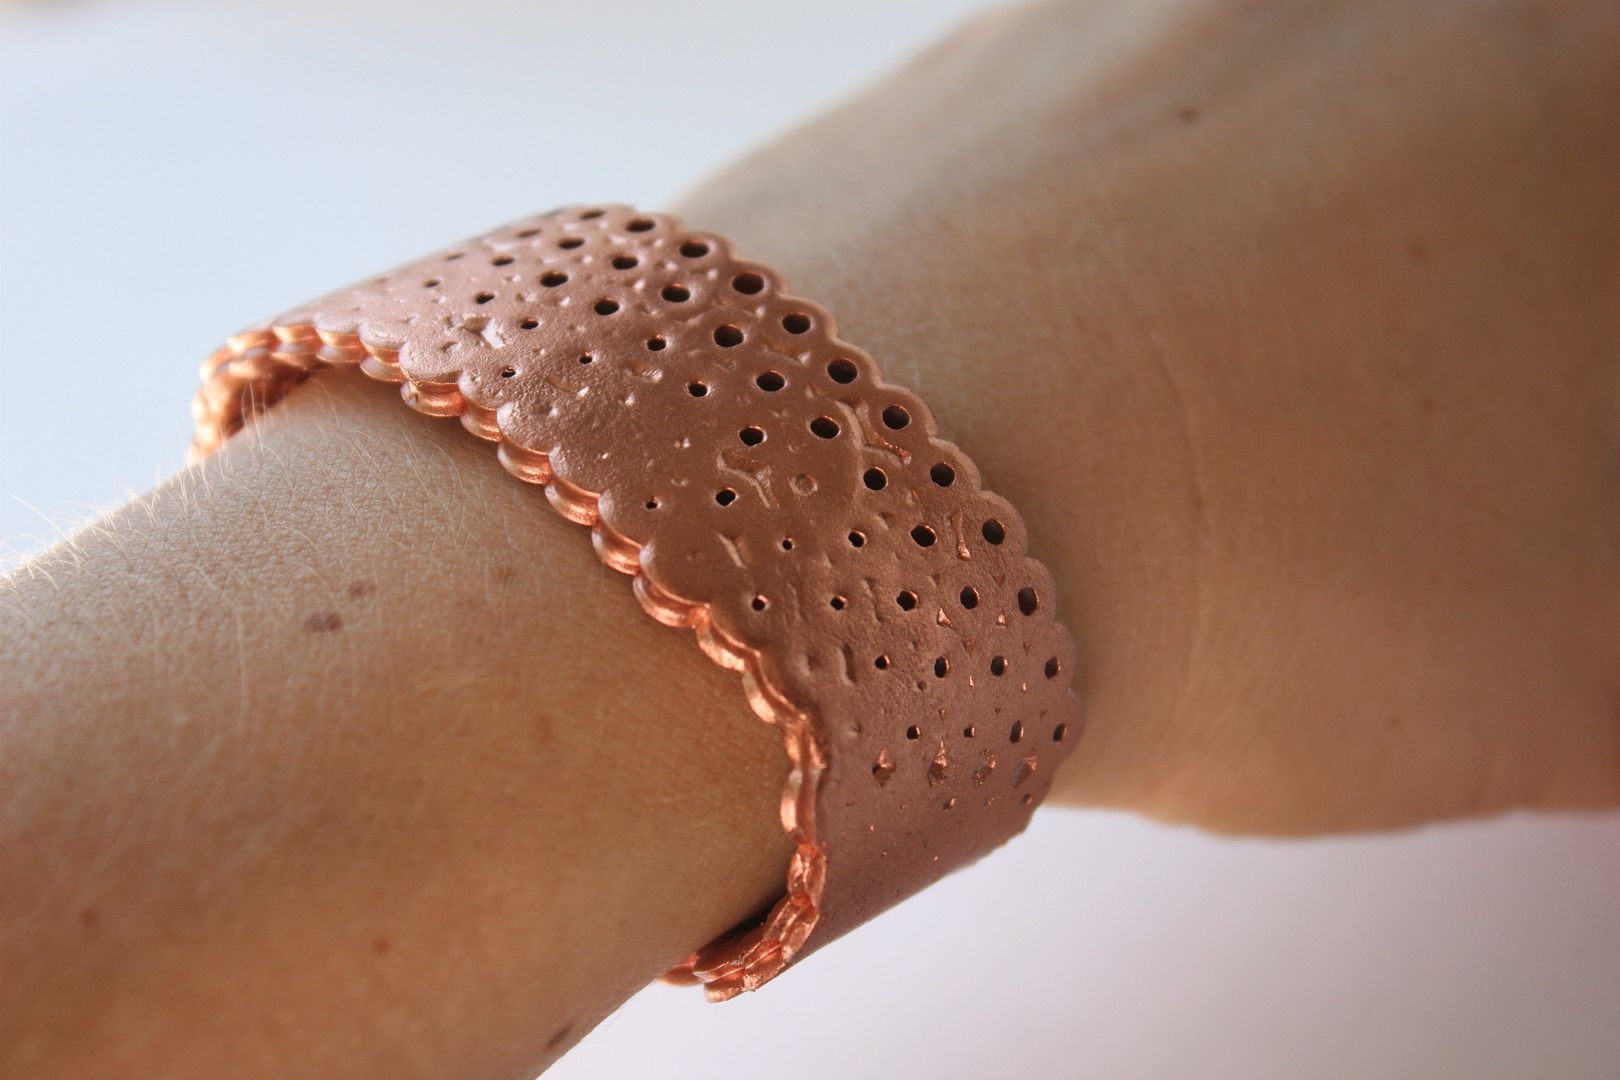
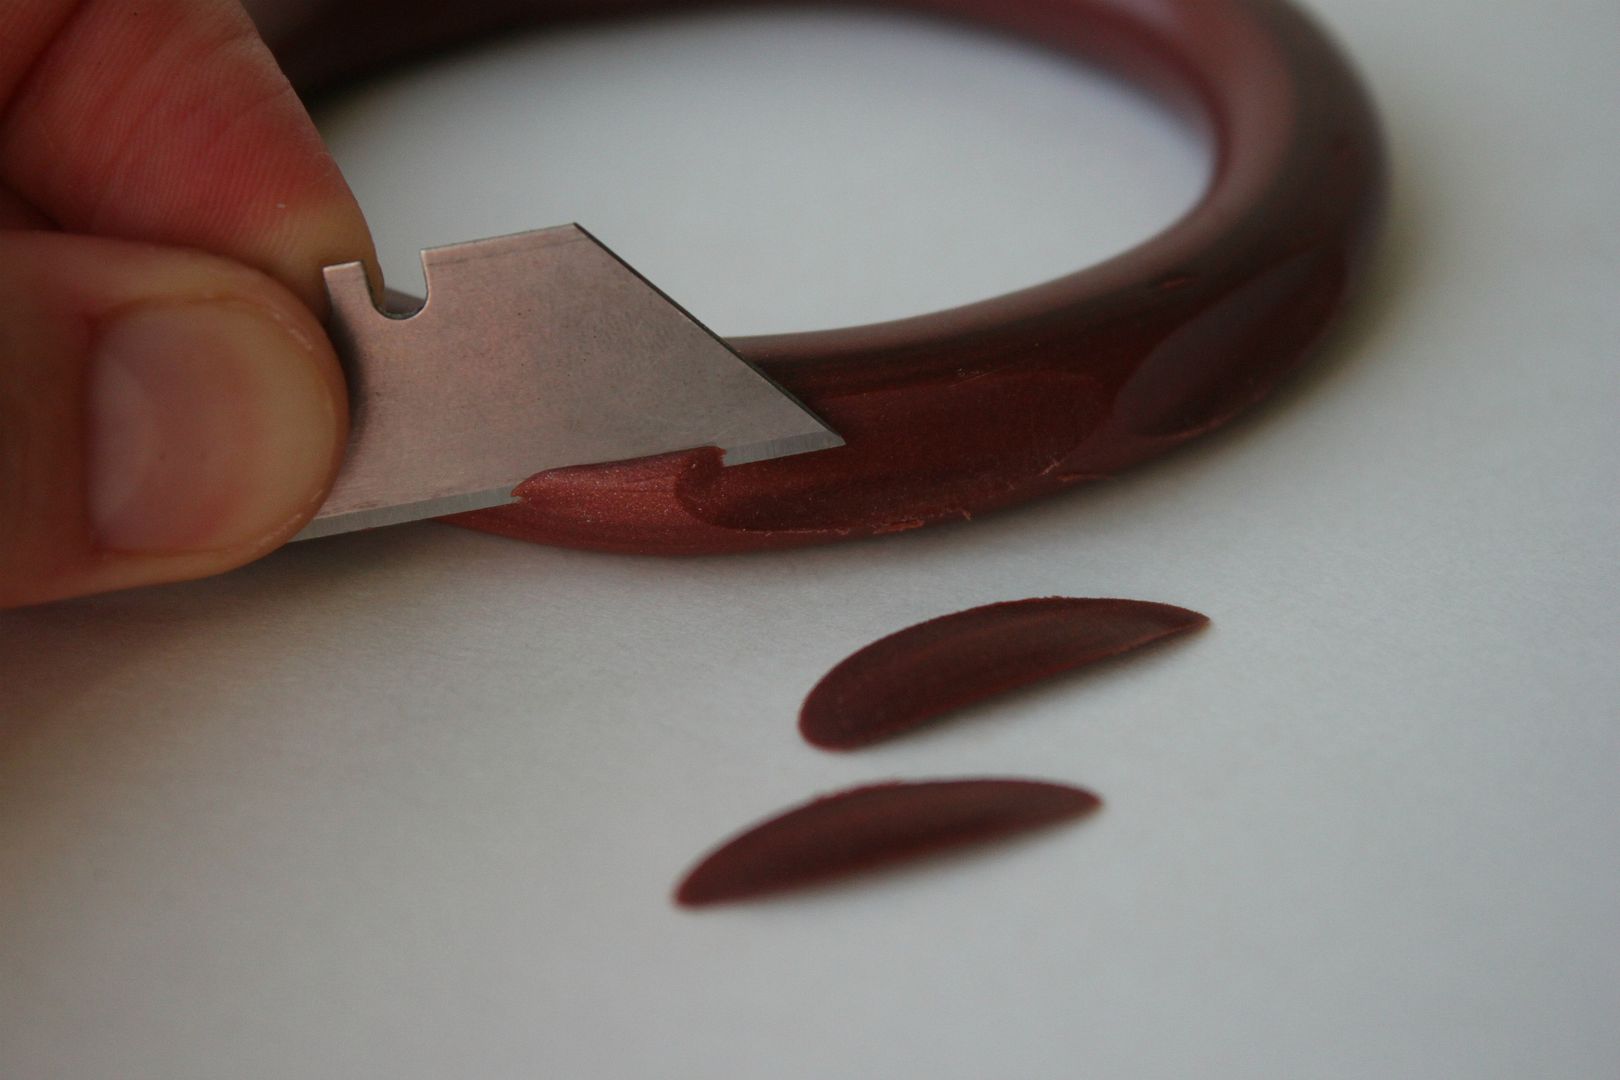 Remove your bracelet from the freezer and begin slicing off tiny slices. Use the razor in all different directions until you are satisfied with the look. When you are ready to do the opposite side, place in the freezer again and do the same thing you did for the previous side of the bracelet.
Place on a baking sheet and bake at 275 degrees for 20-22 minutes.
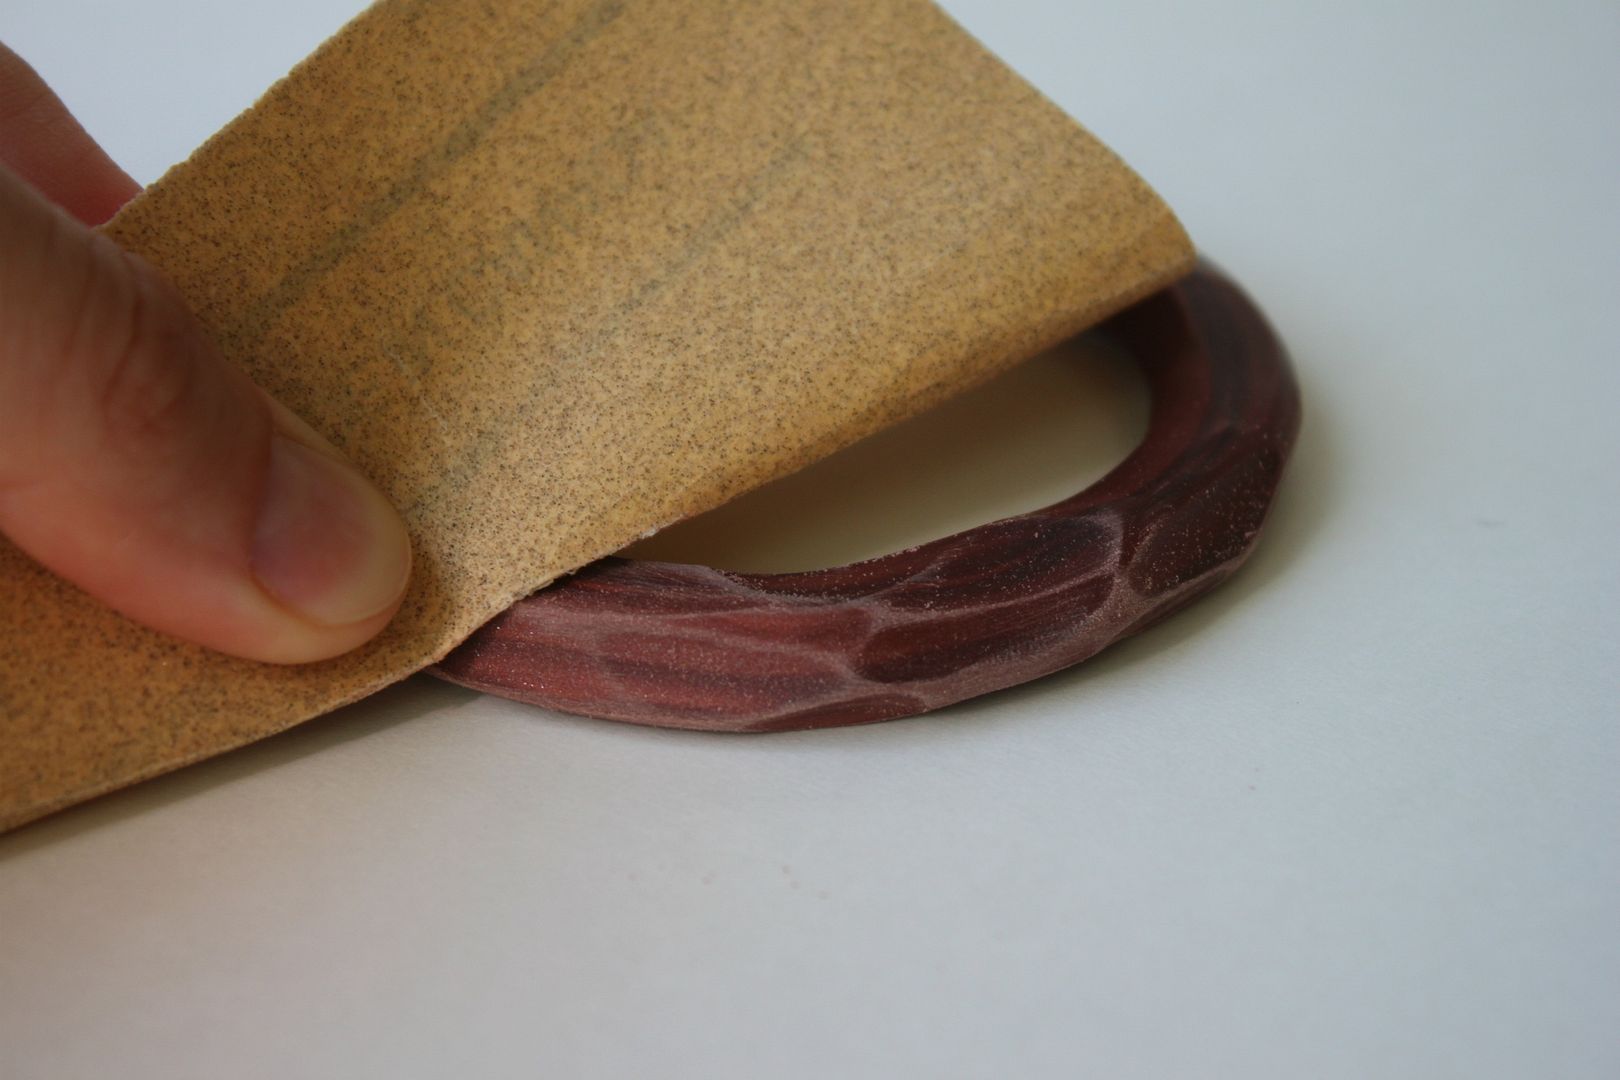 Once the bracelet has cooled, sand the areas that you have carved to bring out the unique effect.
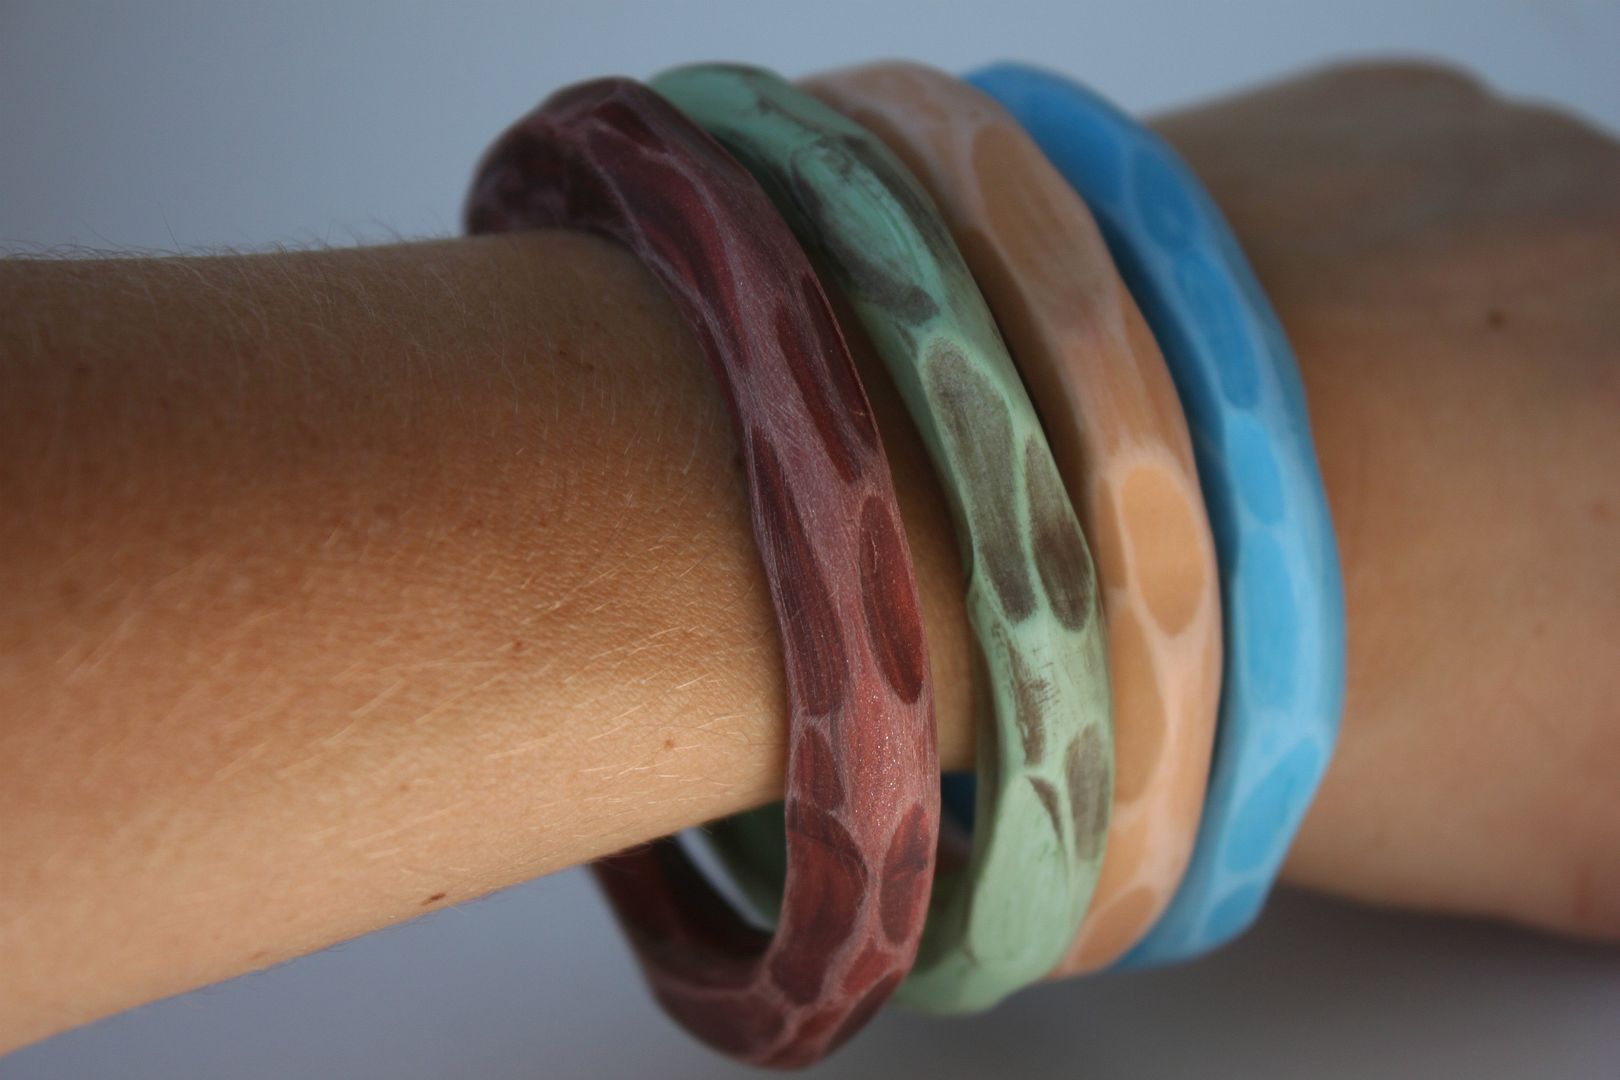


